Christchurch is known for its warm summers and cool, crisp winters. As New Zealand’s biggest South Island city, it offers a laid-back lifestyle, beautiful parks and gardens and access to the beach, hills mountains and coastline—all within a couple of hours' drive of the city.
If you’re moving to Christchurch, you have a lot to look forward to. But like any home move, the more you prepare for it, the smoother your day will be.
Our guide will help you navigate the process of moving to Christchurch. We cover everything from planning and budgeting to picking the right moving company and settling in.
Introduction to moving house in Christchurch
Christchurch is known for its beautiful gardens and green spaces, particularly the Christchurch Botanic Gardens and Hagley Park, which are inside the city’s central “four avenues”. It’s also become an artistic and creative hub, with vibrant street art, galleries, and events like the World Buskers Festival.
The city was heavily impacted by earthquakes in 2010 and 2011, which destroyed much of the central business district. Since then, Christchurch has undergone a massive rebuild. While the development of the city has come a long way over the past decade, moving to Christchurch comes with unique challenges due to its geography and some lingering infrastructure issues.
What to know about post-earthquake Christchurch
Land stability
One of the biggest considerations when moving into your new home is the land stability of the area in Christchurch. Many areas of the east and low-lying suburbs close to the Avon River were particularly affected by the 2010 and 2011 earthquakes. They are consequently prone to liquefaction, which can cause ground instability.
If you're purchasing a home, check land reports and insurance details to ensure it's built on solid ground. Many properties in these areas may have lingering structural issues, so inspections are highly recommended before you commit to a move.
Rebuilding work
Rebuilding a city after a major disaster takes a long time. While the central business district has come a long way from the rubbled remains of 2011, roadworks and infrastructure projects are still common. Detours and temporary closures can make navigating moving trucks tricky, especially in newly developed areas. It’s a good idea to check traffic updates on your moving day.
Housing market
The housing market in Christchurch also presents some unique factors to consider. Many homes have been rebuilt with modern earthquake-resistant designs, but older properties may still lack proper insulation or heating, which can be a concern during winter. If you're moving in summer, expect more competition for rental properties, and be prepared to act quickly when securing a lease.
What to keep in mind when moving in Christchurch
The more you know about moving in Christchurch, the more prepared you’ll be. Here are some helpful tips about the city on topics such as transport, accommodation and weather to keep in mind as you plan your move.
Competitive suburbs
 Christchurch has a much less competitive property market than other cities. However, some suburbs are particularly popular—like Merivale, Fendalton, and Sumner. Whether you’re renting or buying, prices vary depending on proximity to the city centre, major roads, or the beach. If you’re working within a budget, you may be surprised at how affordable living within these four avenues is.
Limited buses
 When it comes to transport, Christchurch doesn’t have a commuter train network, but its bus system covers most areas. If you plan to rely on public transport, getting a Metrocard will make it easier and more cost-effective to travel by bus. However, Christchurch is a very car-friendly city with minimal congestion compared to Auckland or Wellington—so driving is often the most convenient option.
Winter frosts
Christchurch has a wonderful climate. It’s warm in summer and crisp in winter. These weather conditions can impact your moving process. Winters in the city can bring frosty mornings, making moving in the early hours difficult, and some suburbs in the hills can have slippery roads.
Traffic
 While Christchurch doesn't have the same traffic congestion as Auckland or Wellington, peak-hour travel can still be slow, especially on main roads like Moorhouse Avenue, Brougham Street, and Memorial Avenue. If you're moving into older suburbs like Lyttelton, Sumner, or Addington, parking can be another issue. If you're hiring movers, it’s a good idea to confirm in advance whether they can easily access your new property.
Administration
 Don’t forget the administrative side of moving. You’ll need to update your address for your insurance, and utilities like electricity, rates, and internet. Since Christchurch is governed by a single city council, checking your new rubbish and recycling collection days will ensure you’re set up for essential services right away.
Overview of the moving process
Moving in Christchurch is similar to moving within other New Zealand cities, but there are some things you should still consider.
Plan in advance
Plan your Christchurch move at least 8–10 weeks in advance. Set a budget, book a moving company early (especially during summer as Christmas and January holidays tend to get in the way).
Pack efficiently
If you're moving into an older villa in suburbs like Merivale or St Albans, you may encounter narrow doorways or tight staircases. Apartments in the central city can also have a smaller floor plan, so packing efficiently and labelling boxes clearly will make the process smoother.
Update utilities
You’ll need to update your new address with utilities and local services. Christchurch falls under one city council, but waste collection days vary by suburb. Check your schedule to avoid missing rubbish and recycling pickups.
Check access and weather
If you’re relocating to a hill suburb like Cashmere or Sumner, access can be tricky due to steep, winding roads. Coastal areas, like New Brighton and Redcliffs, can experience strong winds, making moving day more difficult.
It’s worth checking in with your movers ahead of time to ensure they’re prepared for any location-specific challenges.
Christchurch moving house checklist
There’s a lot to organise before your home move. Our checklist will help you feel more prepared, and even help you save on moving costs as you prepare for your Christchurch move.
10+ weeks before the move
- Research Christchurch suburbs to find the best location for your lifestyle. Consider factors like proximity to work, access to public transport, local shops and services, and property prices. Christchurch has a lot of great suburbs to choose from, and researching your options will help you make the right choice.
- Set your moving budget early on, so that you always stay within your means. Try to keep track of everything you spend along the way—some things you should factor in include moving company fees, packing materials, and any additional charges like parking.
- Book your moving company in advance to secure your preferred date. Christchurch-based movers can get busy, especially during summer and the start of the university year. Getting quotes and confirming your booking early will help you avoid a last-minute scramble.
- If you need short-term storage, look into local storage facilities around the city. You’ll often find these located on the outskirts of the city—near the airport, State Highway 1 or 76, Addington and Wigram. Book a storage provider in an area that’s as close as possible to your new home.
- Declutter before your move. This will make packing and unpacking so much easier and knock a bit off the price of your move. Take the opportunity to go through your belongings and decide what to keep, donate, sell, or discard. There are plenty of places to donate second-hand items in Christchurch.
- Create a plan to keep you on track during the process. Packing room by room and labelling boxes clearly will save you time and stress when it’s time to unpack in your new home.
6+ weeks before the move

-
Pack your non-essential items. Keep items from different rooms separated for easy unpacking.
-
Order boxes, packing tape and bubble wrap (and any other packing materials).
-
Notify your power and other utilities of your move.
-
Change your address with New Zealand Post. Don’t forget to update your address with your bank, insurance companies, and any subscriptions.
-
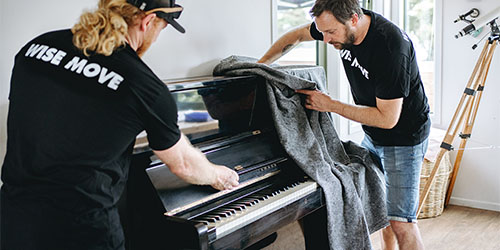
Make a plan for moving any tricky items such as artwork, pianos or fragile objects.
4+ weeks before the move
-
Ring or message your moving team to confirm moving day details.
-
Arrange for cleaning services for your apartment or home.
-
Make a plan for any pets or young children. Book in early for pet sitting, doggy daycare or organising family to care for your child during the move.
2+ weeks before the move

-
Start packing everything but the essential rooms and furniture (kitchen, beds and couches).
-
Prepare a box of essentials for items you’ll need straight away (kitchen utensils, bowls and cups, bedding, cooking equipment).
-
Update details car registration and electoral roll.
-
Put a forwarding address on your mail for your old house.
1+ week before the move
-
Check your times and any access details with your moving company.
-
Make sure you have the keys to your new place.
-
Start cleaning your old home, starting with the empty rooms.
-
Pack away the final pieces, making sure that these boxes are last in the truck and first out (as you’ll be needing them first).
-
Organise any travel arrangements for moving day.
-
Organise a moving day bag for any pets and children with stuff they need right away
-
Put together a kit with things you need on moving day, such as toiletries, any daily medication, a change of clothes and chargers.
Moving day
-
Move any boxes you can into one spot in the home.
-
Do a final walkthrough, checking cupboards and crawlspaces for items.
-
Check that the utilities are working at your new home.
-
Unpack the essentials once your movers arrive at the new home.
Settling in
-
Unpack and organise, tackling one room at a time, starting with the kitchen and bedrooms to get your space functional.
-
Make sure all boxes and furniture have been delivered to the right spot.
-
Confirm that the internet, water, gas, and electricity are all working properly.
-
Take a walk around and get familiar with your new local area.
Budgeting for your Christchurch move
How much do Christchurch moving companies charge?
The cost of moving in Christchurch depends on several factors, including the size of your home, the amount of furniture and belongings, and the distance between your old and new home. Movers may also charge extra for navigating stairs, difficult access points, or long carries from the truck to your home.
Approximate costs of moving in Christchurch
-
A single truck and two movers will cost around NZ$160/hr.
-
A single truck and three or four movers will set you back between NZ$200 and NZ$320/hr.
-
For a three-bedroom home, the moving process may take 6–7 hours, putting the estimated labour cost between NZ$960 and NZ$2,560.
Moving costs by home size
Larger homes require more time and effort to move, increasing the overall cost. To keep expenses down, consider decluttering before your move—donating, selling, or discarding items you no longer need. This will reduce the amount you have to transport, ultimately saving time and money.
Here’s an estimated breakdown of moving costs based on home size, according to Wise Move’s 2025 data:
|
Home Size
|
Estimated Moving Cost
|
|
Studio/1-Bed Unit
|
NZ$250 – NZ$540
|
|
2-Bed Unit
|
NZ$395 – NZ$580
|
|
2-Bed House
|
NZ$470 – NZ$950
|
|
3-Bed House
|
NZ$620 – NZ$1,372
|
|
4-Bed House
|
NZ$650 – NZ$1,484
|
Long-distance moving costs
If you’re moving beyond Christchurch, such as to another part of the South Island or even the North Island, costs will increase based on the distance and the number of movers required.
Three-bedroom house moving costs based on distance
|
Movers
|
100km
|
500km
|
1,000km
|
|
2 movers
|
NZ$450–NZ$640
|
NZ$1,100–NZ$1,900
|
NZ$4,000–NZ$6,000
|
|
3 movers
|
NZ$570–NZ$790
|
NZ$1,400–NZ$2,300
|
NZ$4,500–NZ$6,500
|
|
4 movers
|
NZ$750–NZ$940
|
NZ$1,800–NZ$2,400
|
NZ$5,000–NZ$7,000
|
These figures are estimates and may vary based on the specific moving company, the time of year, and any additional services such as packing, furniture disassembly, or storage. Always get multiple quotes and discuss your needs with your movers to ensure you get the best price for your move in Christchurch. Wise Move makes this process simple and easy.
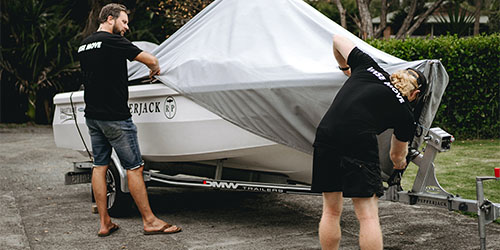
Hiring vs. DIY moving—weighing up what’s best
 Before your move, you’ll need to decide whether to hire professional movers or do it yourself. It’s very common for university students and young professionals to DIY their Christchurch move.
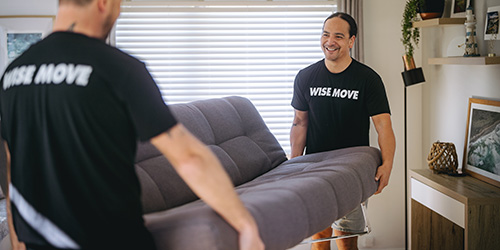
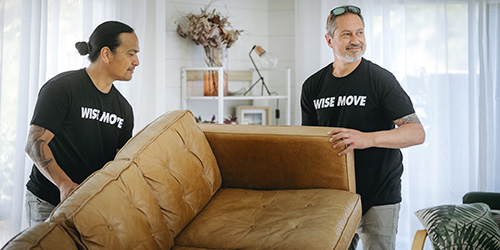
However, if you’re moving into a larger home, have stairs or a tricky accessway, or are moving a long way across town, professional movers can make everything run a lot more smoothly. Here’s a breakdown of what you can expect from each approach.
Hiring professional Christchurch moving companies
Pros:
-
Time: There’s no doubt about it—hiring movers gets the job done quickly and a lot more efficiently. If you’re short on time, movers can save you time and stress.
-
Less work: Movers can handle everything including the packing of your items, the logistics of getting your stuff from A to B and transport.
-
Insurance: Most professional movers offer insurance in their policies, which can bring you peace of mind.
-
Expert handling: Professionals have dealt with moving everything from fragile items to heavy furniture, and manoeuvering in tight spaces.
Cons:
-
Cost: Professional movers will cost more than doing it yourself. Make sure you have a budget in mind that you stick to before hiring movers.
-
Added expenses: You may be charged more for moves that include stairs, long distances, or that require extra movers.
DIYing your move
Pros:
-
Save money: DIY moving is definitely the cheaper option especially if you don’t have much to move and have a car that’s big enough to transport your items in a few trips.
-
Control: You can move on your schedule or break your move across a few days if you want.
Cons:
-
Time and effort: Packing and moving yourself takes longer than leaving it to the professionals
-
Safety: If you have heavy or bulky items you may risk doing damage to your old house, your new home or your stuff.
-
Risk of injury: Moving up and down stairs and lifting heavy items is hard on the body. If you can’t safely lift all the items you’ve packed up you might want to hire movers.
Organising and decluttering
Whether or not you choose to hire a professional moving team, organising your items early on will save you time, stress and money. Here's how to start:
-
Create a packing schedule that fits your timeline.
-
Set aside everything you need for packing in a spare room.
-
Go through closets and rooms and get rid of duplicate items.
-
Sell or donate unwanted, broken or expired items.
Packing materials and supplies
 The right materials will make your move that much easier. For a typical 3-bedroom move-in in Christchurch, you will need:
Boxes
-
15-20 small boxes —use these for small items like knick-knacks, books and chords.
-
15-20 medium boxes—use these for kitchenware and decor.
-
5-10 large boxes—use these for bedding, blankets, and appliances.
-
2-3 wardrobe boxes—use these for hanging delicate clothes, suits and dresses.
Where to find them
You can pay for boxes from movers, but a cheaper option is usually to get them from places like Bunnings, The Warehouse and Warehouse Stationery. You could even find them on Trade Me or Facebook Marketplace.
Packing tape
Where to get it
Bunnings, The Warehouse or Warehouse Stationery sell packing tape, or you can buy it online in bulk.
Bubble wrap & packing paper
Where to find it
Again, you can find packing materials at Bunnings, The Warehouse or Warehouse Stationery or from moving suppliers in Christchurch.
Furniture pads or blankets
Where to get them
You can use the blankets you have in your home. If you are hiring a professional team, they can supply blankets for any of your larger items.
Plastic bins (optional)
Where to find them
You can find affordable bins at stores like Briscoes, Bunnings, or The Warehouse. They are a good option if you need to store items after your move—for example, in an office or a garage.
Packing for your Christchurch move
 Now that you’ve got all your packing supplies ready, having a plan for what to pack, and in what order, can save you a lot of time. This guide will take you through your pack room-by-room for the best results.
How to start
Always start packing in the rooms that you use the least. This will be different for everyone, but for many people will include guest bedrooms, sheds and storage places such as the garage.
Next, move on to the rooms that may have a lot of items, but ones that aren’t essential to daily life. These are rooms like your home office, living areas and linen closets. You can keep a much smaller number of items unpacked (like a few towels, your home printer or the television) while everything else goes in a box.
The final areas to tackle are the kitchen and bedrooms. Once these are packed, you should only have essential items left.
Garden, shed and storage areas
-
Tools: Pack smaller tools in boxes and cover larger ones (like lawnmowers) with blankets. Get rid of what you no longer need, as tools are heavy and take up space that can be used for other things.
-
Outdoor furniture: Disassemble items where possible and wrap them with moving blankets. Store cushions in large boxes or bags.
-
Gardening supplies: Pack pots, plants, and fragile planters securely in wooden boxes.
-
Storage items: Pack towels, seasonal clothes, and linens into labelled boxes for easy unpacking later.
Guest bedrooms
-
Bedding: Pack into large boxes or plastic storage bins and label them.
-
Furniture: If possible, disassemble large pieces and place screws and bolts in labelled bags.
Office
-
Documents: Sort paperwork and shred what you no longer need. Many things can be scanned or stored online. Pack important files in a document box.
-
Electronics: Wrap computers, monitors, and other devices in bubble wrap. If you still have the original boxes, use them for added protection.
-
Furniture: Disassemble desks and bookshelves. Store small items in drawers for easy transport.
Living and dining rooms
-
Electronics: Use original packaging if available. Otherwise, wrap items securely with bubble wrap.
-
Furniture: Disassemble where possible and protect surfaces with moving blankets.
-
Books: Place books in small boxes (they get heavy fast) and use bubble wrap for decor.
-
Cushions and throws: Store throws and cushions in large boxes or use them to protect other items during the move.
Main bedrooms
-
Clothes: Use wardrobe boxes for hanging clothes. Fold the rest into suitcases or boxes.
-
Bedding: Pack into large boxes or plastic storage bins.
-
Furniture: Disassemble large pieces if needed and place the screws and bolts in ziplock bags.
-
Personal Items: Pack electronics, keys and IDs into backpacks or purses.
Bathrooms
-
Declutter: Get rid of any expired toiletries, empty bottles, or products you won’t finish.
-
Toiletries: Store what you do use in zip lock bags to prevent leaks
-
Mirrors: Wrap fragile items (like mirrors) with bubble wrap.
-
Towels and linens: Roll them up and pack them into medium-sized boxes, or use them to cushion other fragile items. Keep some separate for moving day.
Kitchen
-
Declutter: Go through your cupboards and donate or throw away items you don’t need.
-
Dishes and glassware: Wrap glassware with bubble wrap and place packing wrap between dishes. Pack them in small boxes or use dividers for wine glasses.
-
Appliances: Use the original boxes for toasters, blenders, and other small appliances or cover them with bubble wrap and place them together.
-
Food: Pack pantry items into reusable bags. Throw away or use up perishable food before you move.
How to clean your home to get your bond back
 Getting your bond back depends on leaving the property in good condition. Landlords and property managers will expect a thorough cleaning before they release your bond, and a little extra effort now can save you a lot of hassle later.
Know what’s expected
Before you start cleaning, check your tenancy agreement for any specific cleaning requirements. Some landlords may ask for the carpets to be professionally cleaned, however, this isn’t a legal requirement. You are expected to leave the property in a reasonably clean and tidy condition.
Give yourself enough time
Make sure you leave enough time to clean properly—rushing through it on moving day could lead to missed spots and unnecessary deductions from your bond.
Declutter and remove all your belongings
Don’t start cleaning until everything is out of each room. Start by checking hidden spaces for any forgotten items. These could include cupboards, drawers, and storage spaces. Don’t forget to check high shelves, under the sink, and behind appliances. Don’t leave rubbish behind, as you could be charged for its removal (and it will be more than what you’d pay to take it to the dump.)
Tackle the kitchen
Starting with the kitchen is a good idea as this is one of the most scrutinised areas during an inspection, so take extra care when cleaning it. Start by wiping down all surfaces, including countertops, cabinets, and splashbacks.
Pay special attention to the oven. It should be free of grease and burnt-on residue, including the racks and trays. If your rental has a rangehood, clean the filters to remove built-up grease. Don’t forget to wipe down the inside and outside of the fridge if it was included in the rental, and give the sink and tapware a final polish.
Deep clean the bathroom
The next most important room is the bathroom. Scrub the shower and bath, making sure to clean glass doors and tiled surfaces thoroughly. The toilet should be disinfected and free of any stains, and all sinks, mirrors, and countertops should be wiped down. If there’s mould on the ceiling or around the edges of the shower, use a mould remover (like Exit Mould) or a vinegar solution to get rid of it.
Floors and carpets
While you don’t need to professionally clean your carpets (unless you have stains you want to get rid of), vacuuming is essential. For small stains, you can try to remove them with carpet cleaner from the supermarket. Dust the skirting boards and corners of any rooms with hardwood floors before giving them a mop.
Walls, doors, and windows
Marks on the walls are common in rentals, but they should be cleaned before your final inspection. All you need is a damp cloth or a magic eraser. This will remove most scuff marks but won’t damage the paint. Doors, handles, and light switches also need a wipe-down, as they can accumulate dirt over time. Clean the windows inside and out, and clear any sliding door tracks of dust and debris.
Outdoor areas and gardens
If your rental includes an outdoor space, you’ll need to make sure it's tidy. Mow the lawn, remove weeds, and sweep any patios, decks, or driveways. Rubbish bins should be emptied and cleaned, and if there are any garden beds, check that they are in reasonable condition.
Final walkthrough
Once you’ve finished cleaning, do a final walkthrough of your property to check for anything you may have missed. Turn off lights, lock windows and doors, and take photos of the property in case there are any disputes over the bond refund. If possible, arrange for your landlord or property manager to do a pre-final inspection so you have a chance to fix any issues before they deduct from your bond.
What you need to know about storage and associated costs
One of the most difficult parts of moving can be trying to time the transition between your old and new house. Whether you’re moving to Christchurch for a job or moving house, temporary storage is a good short-term solution if your moving dates don’t quite match up.
Storage costs in Christchurch vary depending on how much space you need and where your storage is located.
-
A small storage unit about the size of half a garage could be suitable for a one-bedroom unit and costs around $145/month.
-
Expect to pay around $240 for enough storage for a two-bedroom house and $350/month for storage for a 3-bedroom house.
You’ll find most storage providers in suburbs such as FerryMead, Riccarton, Addington or near the Christchurch Airport.
Choosing trustworthy Christchurch moving companies
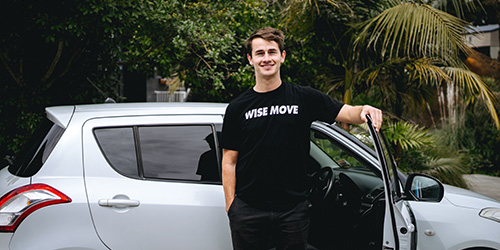
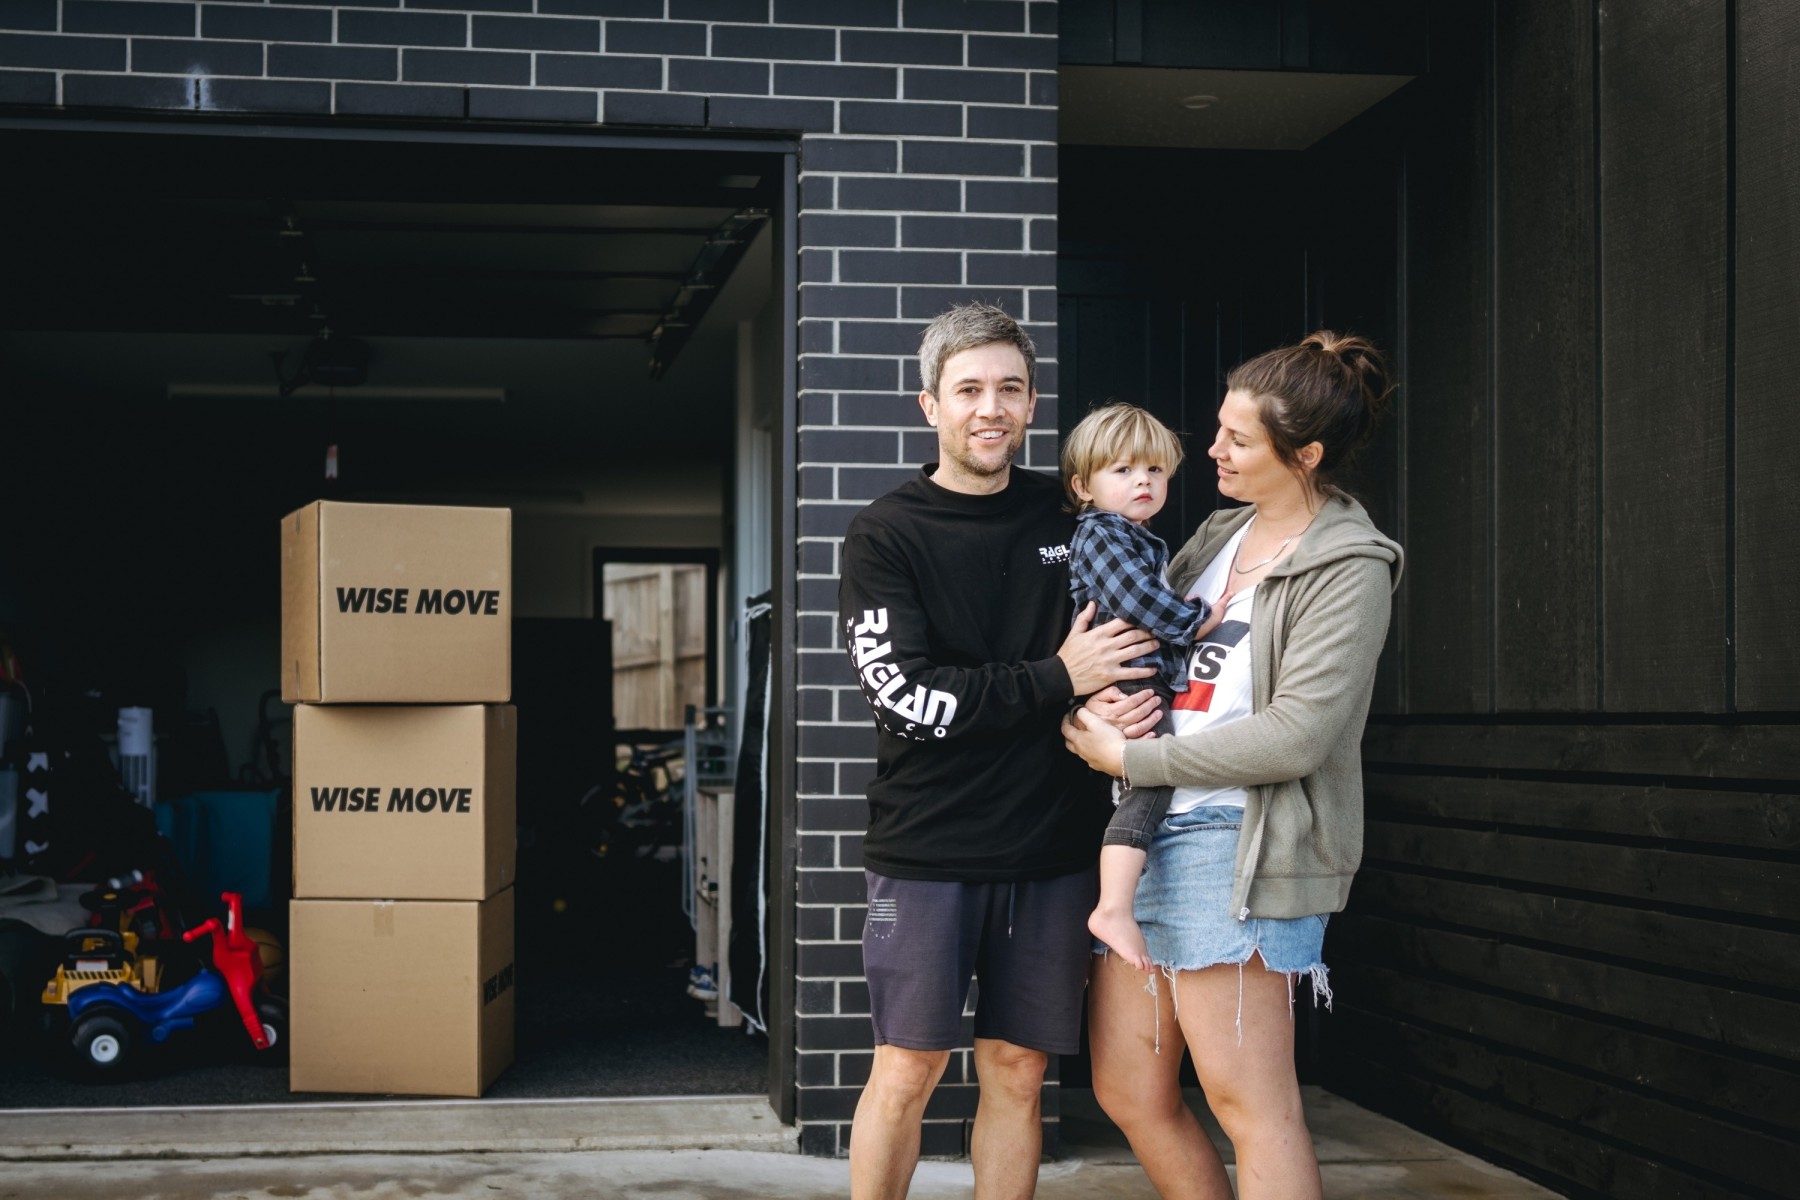
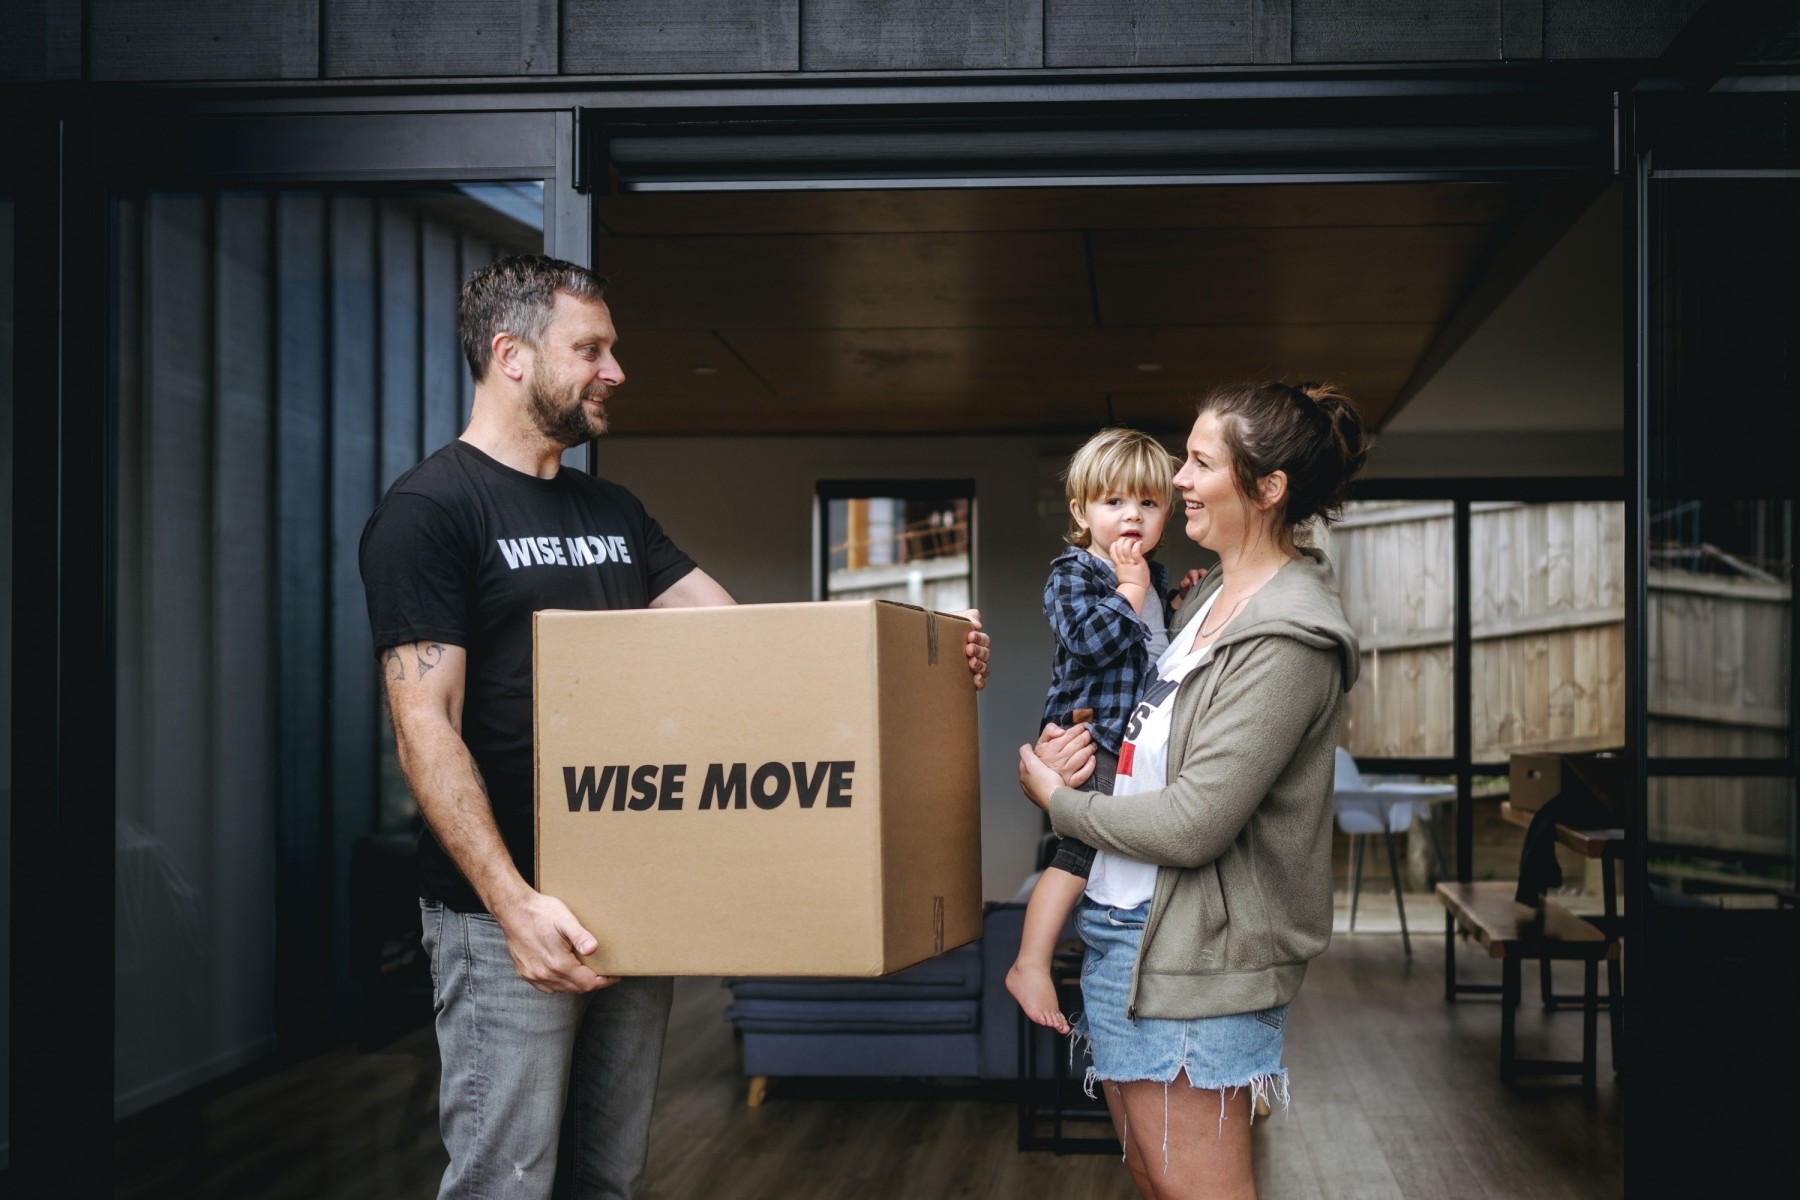
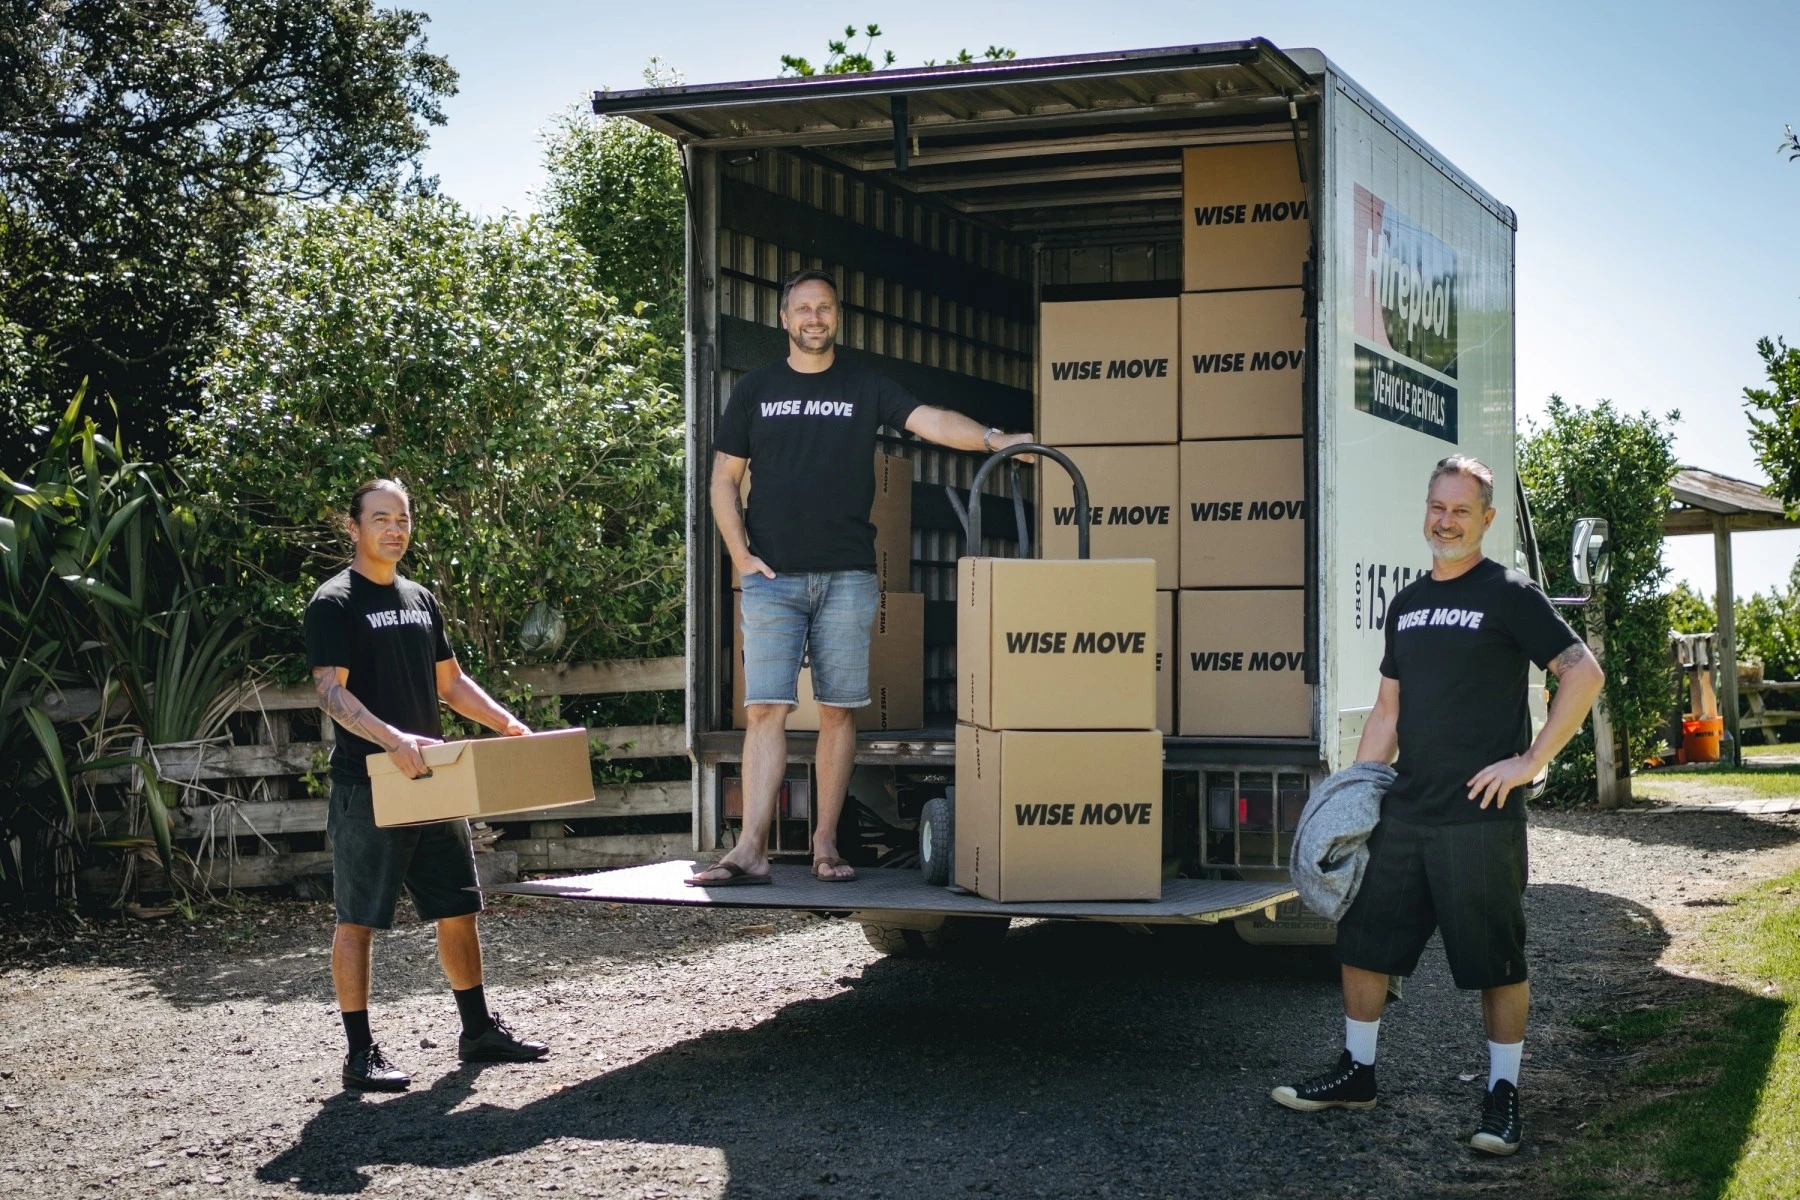 There’s a lot to plan for during a move, especially if you’re new to the city. Whether you’re moving to Christchurch for the first time or to a new house, a change of location can be both exciting and a bit overwhelming. That's where Wise Move can help. We make it easy to find a range of quotes from experienced, affordable, and trustworthy Christchurch movers.


 Christchurch has a much less competitive property market than other cities. However, some suburbs are particularly popular—like Merivale, Fendalton, and Sumner. Whether you’re renting or buying, prices vary depending on proximity to the city centre, major roads, or the beach. If you’re working within a budget, you may be surprised at how affordable living within these four avenues is.
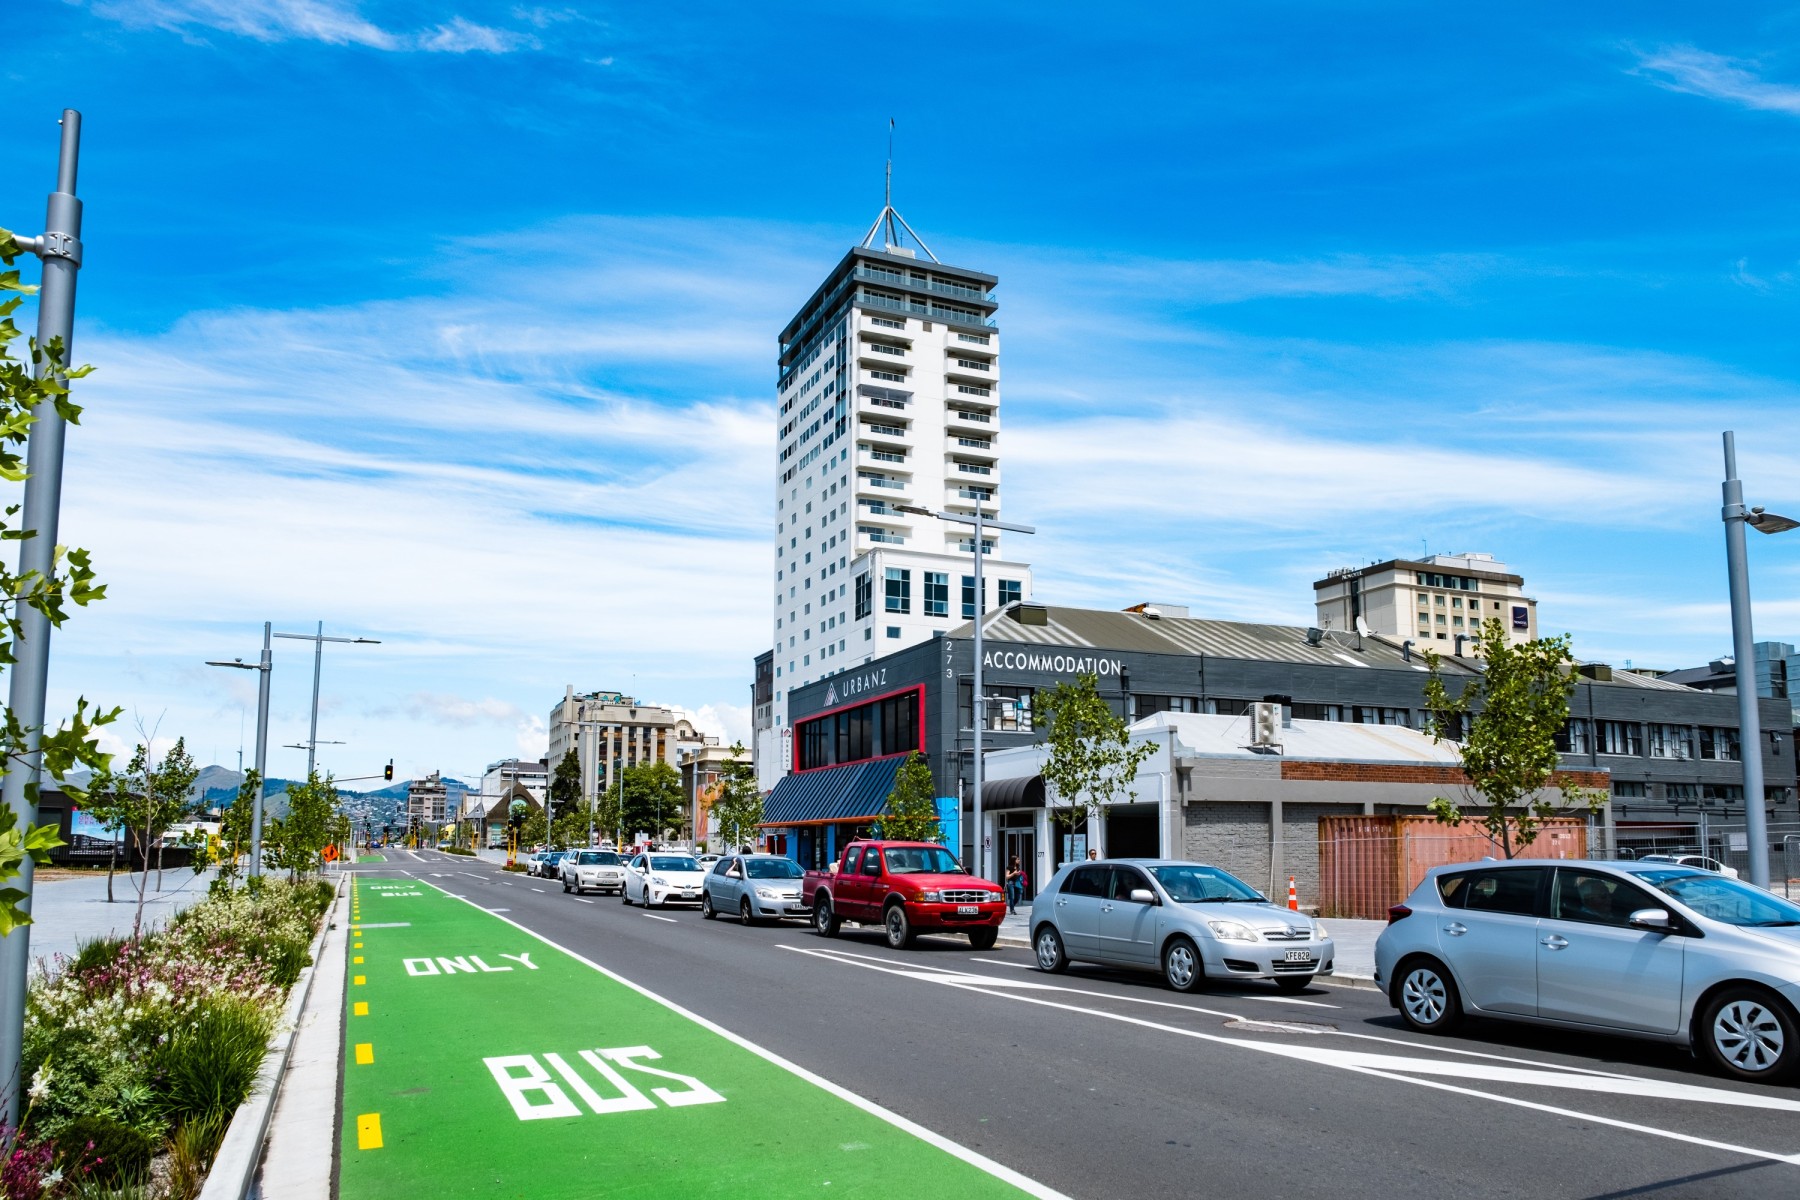 When it comes to transport, Christchurch doesn’t have a commuter train network, but its bus system covers most areas. If you plan to rely on public transport, getting a Metrocard will make it easier and more cost-effective to travel by bus. However, Christchurch is a very car-friendly city with minimal congestion compared to Auckland or Wellington—so driving is often the most convenient option.
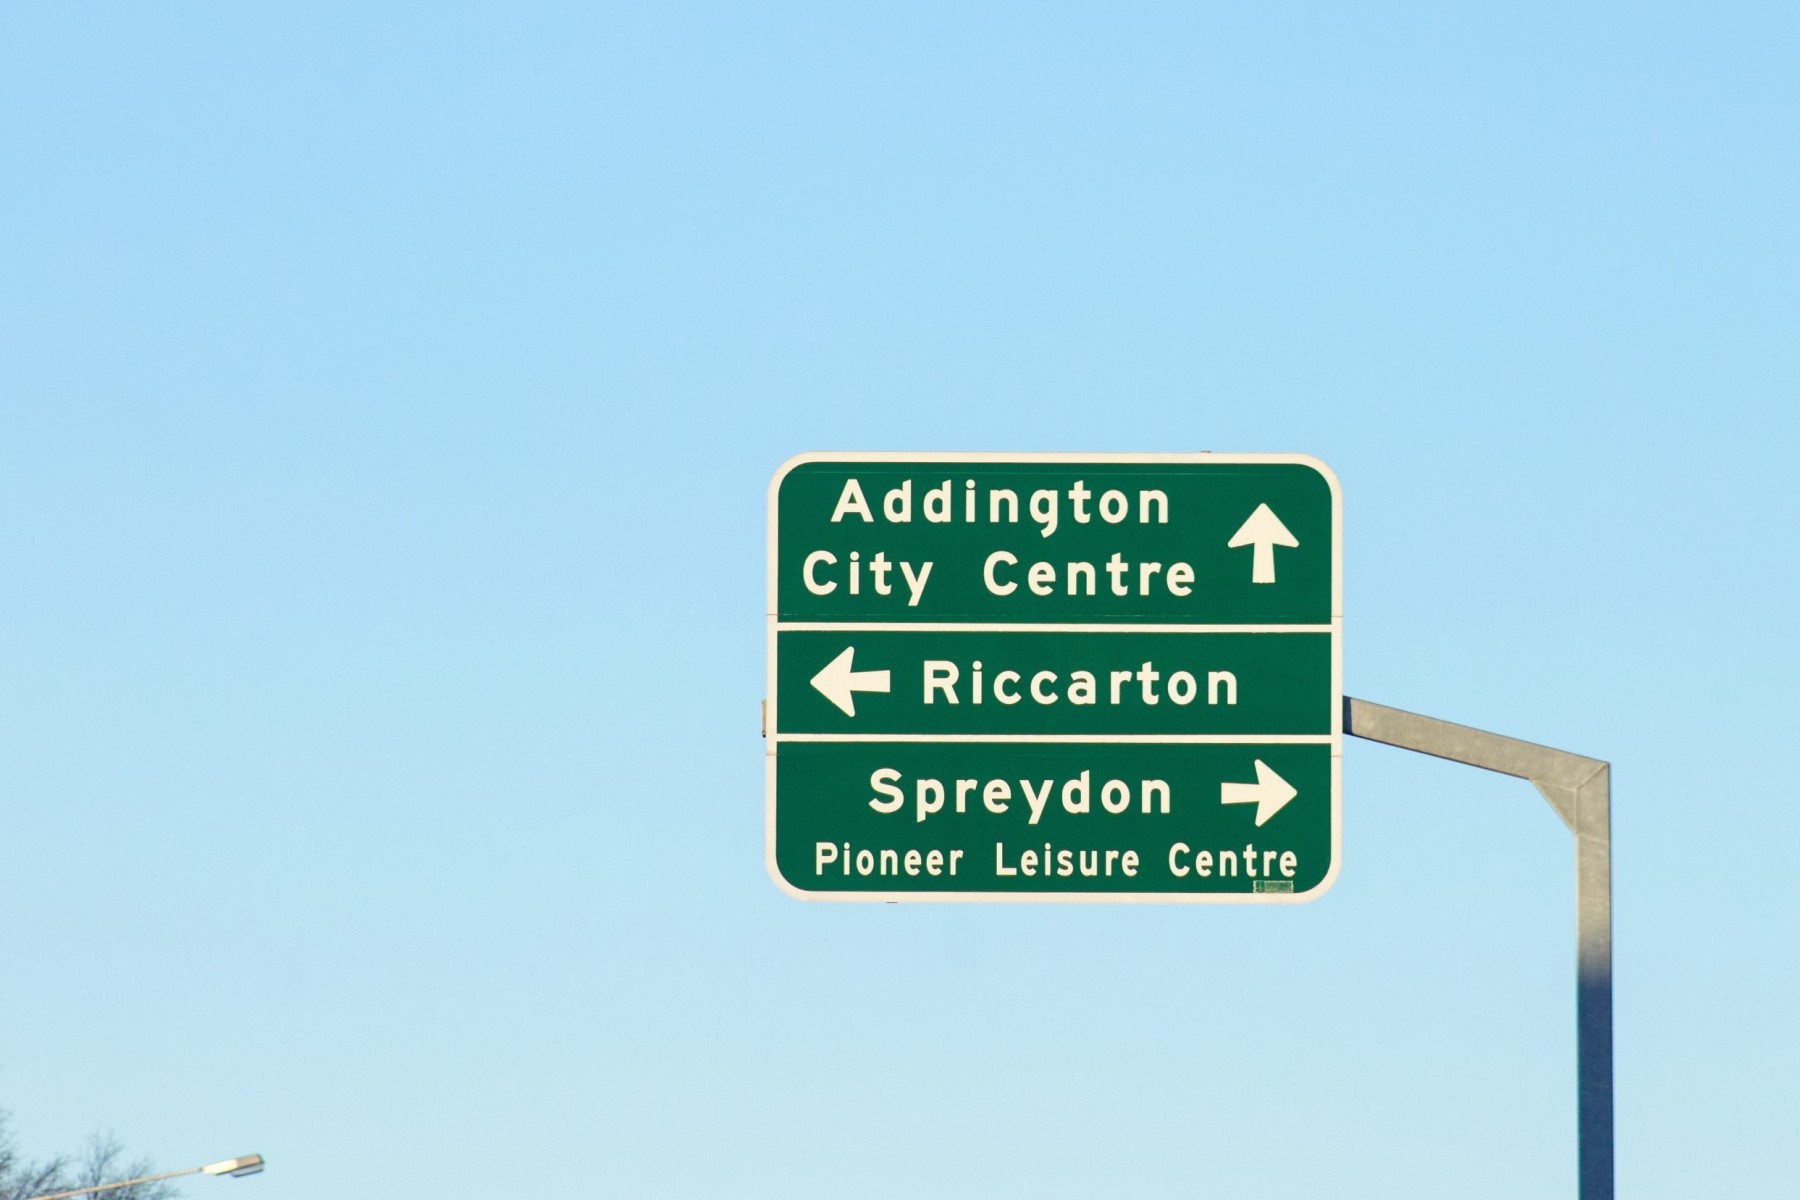 While Christchurch doesn't have the same traffic congestion as Auckland or Wellington, peak-hour travel can still be slow, especially on main roads like Moorhouse Avenue, Brougham Street, and Memorial Avenue. If you're moving into older suburbs like Lyttelton, Sumner, or Addington, parking can be another issue. If you're hiring movers, it’s a good idea to confirm in advance whether they can easily access your new property.
 Don’t forget the administrative side of moving. You’ll need to update your address for your insurance, and utilities like electricity, rates, and internet. Since Christchurch is governed by a single city council, checking your new rubbish and recycling collection days will ensure you’re set up for essential services right away.


 Before your move, you’ll need to decide whether to hire professional movers or do it yourself. It’s very common for university students and young professionals to DIY their Christchurch move.
 The right materials will make your move that much easier. For a typical 3-bedroom move-in in Christchurch, you will need:
 Now that you’ve got all your packing supplies ready, having a plan for what to pack, and in what order, can save you a lot of time. This guide will take you through your pack room-by-room for the best results.
 Getting your bond back depends on leaving the property in good condition. Landlords and property managers will expect a thorough cleaning before they release your bond, and a little extra effort now can save you a lot of hassle later.
 There’s a lot to plan for during a move, especially if you’re new to the city. Whether you’re moving to Christchurch for the first time or to a new house, a change of location can be both exciting and a bit overwhelming. That's where Wise Move can help. We make it easy to find a range of quotes from experienced, affordable, and trustworthy Christchurch movers.


")