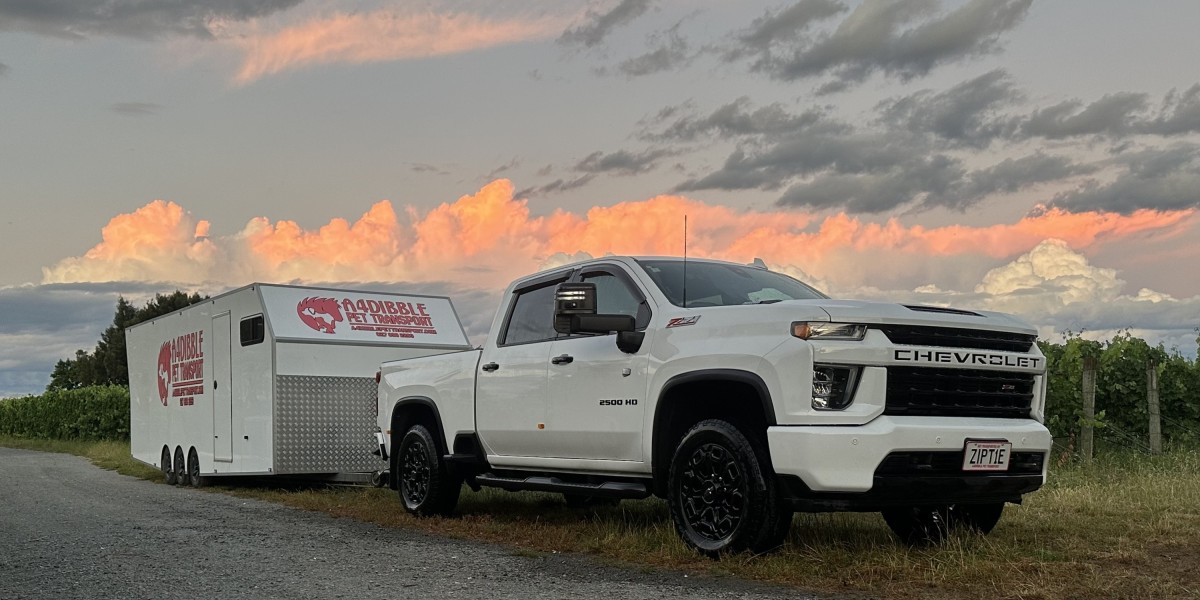
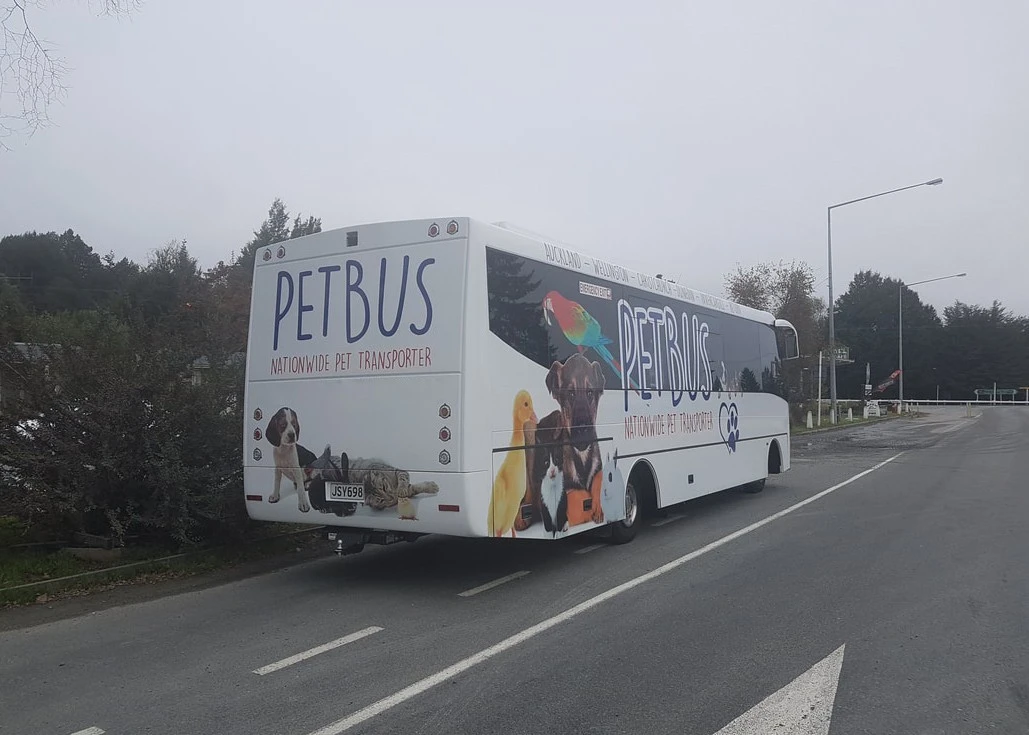
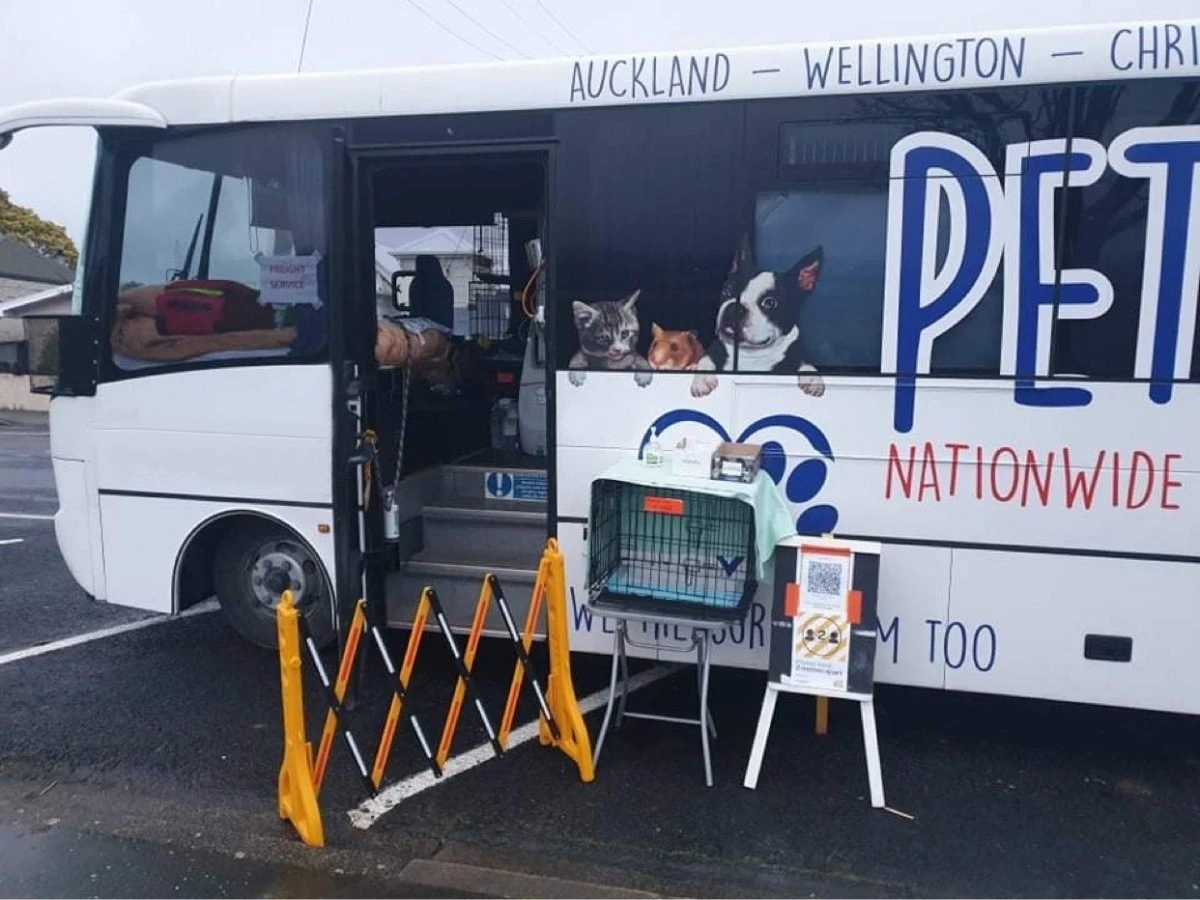
Petbus Limited provides top-tier pet transport across New Zealand, ensuring pets' safety, well-being, and swift delivery within specified timeframes. Read more

Petbus Limited
The best 1st class pet transporter in the North & South Island.
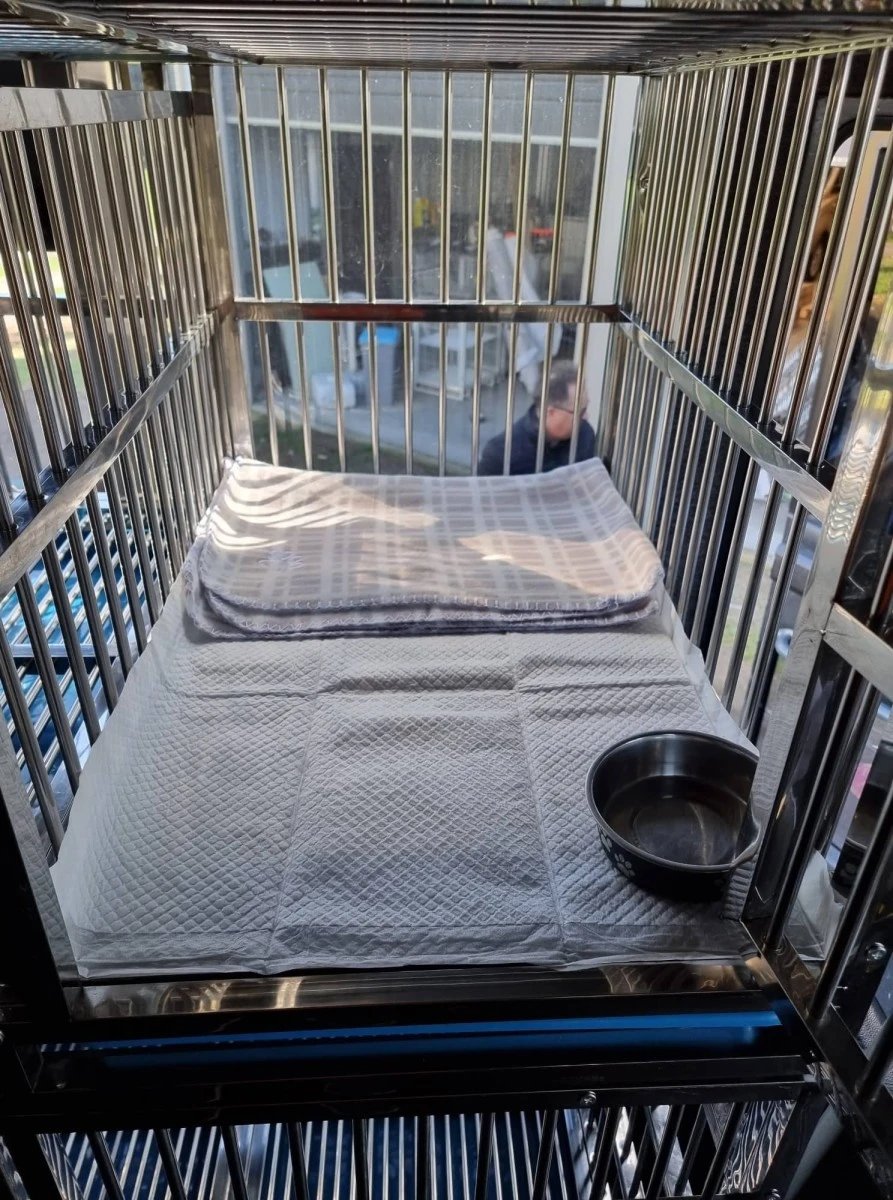
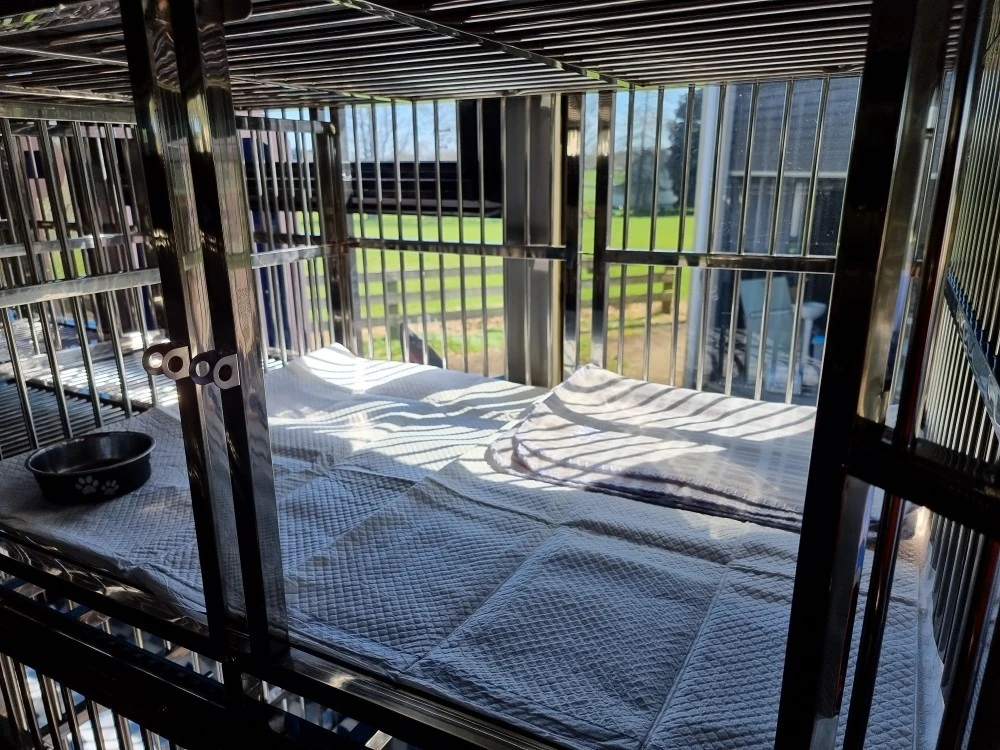
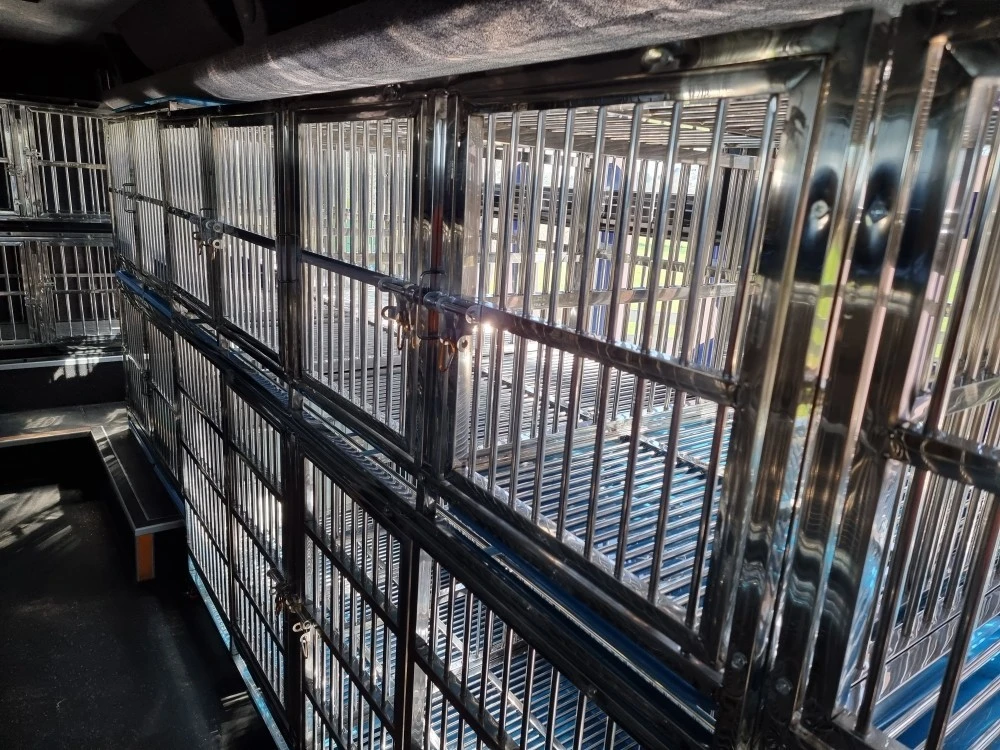
Individual crated inbuilt crates on board. Our coachline is fully air-conditioned/heated to a stable temperature 24/7.
Your pet will arrive healthy and happy with the PETBUS.
All pets on board are with someone 24/7 during transportation; we do not lock the bus at night and go into our accommodation. We sleep have full sleeping facilities on board.
Pets are covered by Pet Insurance while in transit (optional cover). Petbus holds and carries a full Goods and Service license and a class 2 license to operate this company, and the business complies with the Code of Recommendations and Minimum Standards for the Welfare of Animals Transported within New Zealand.
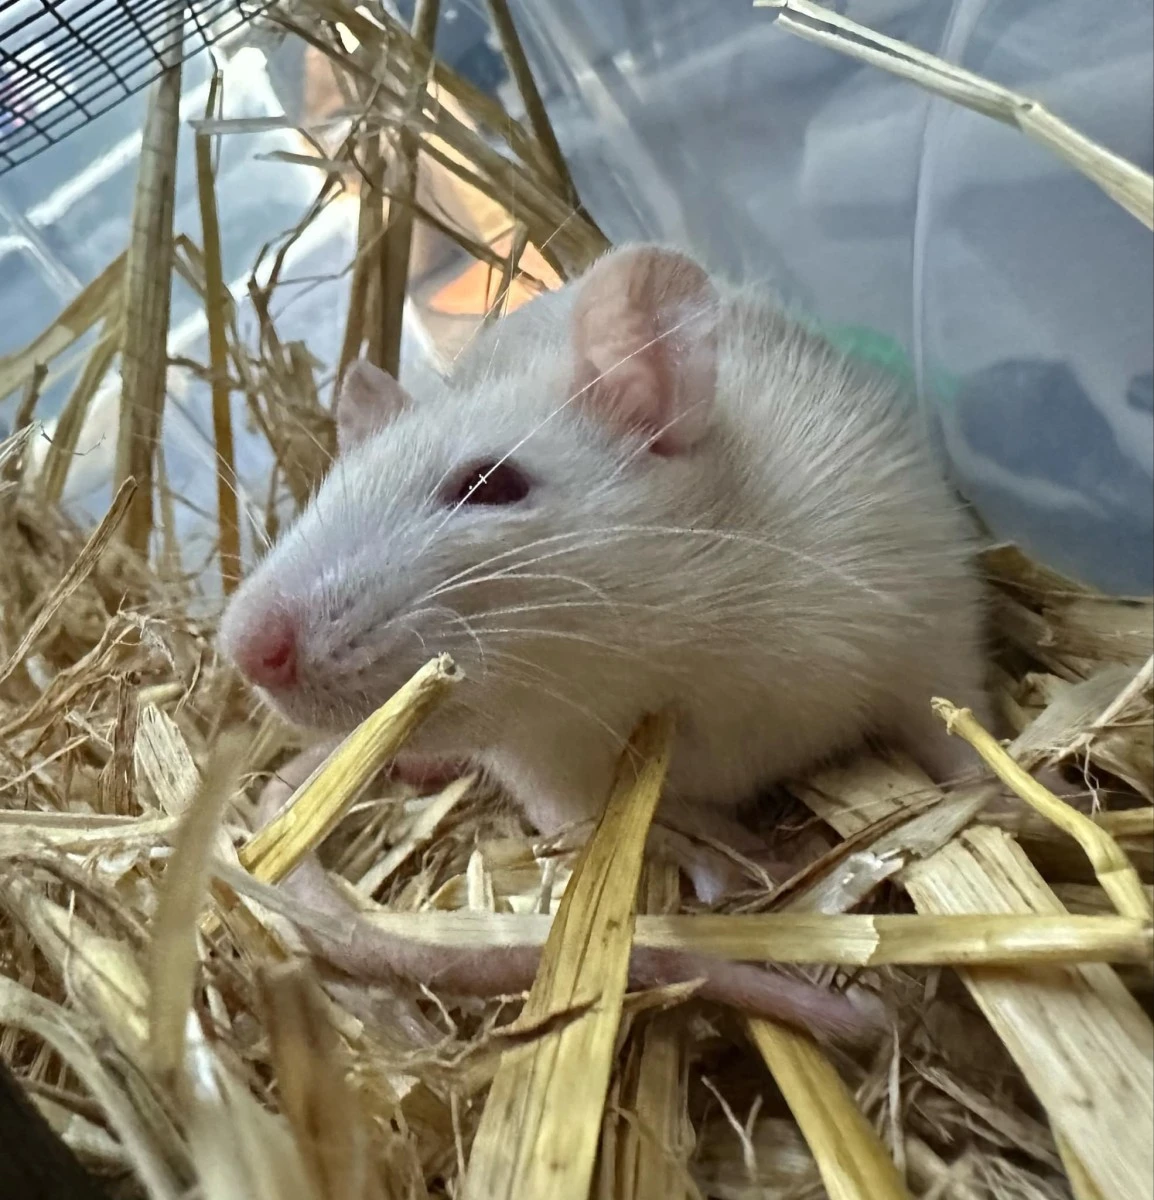
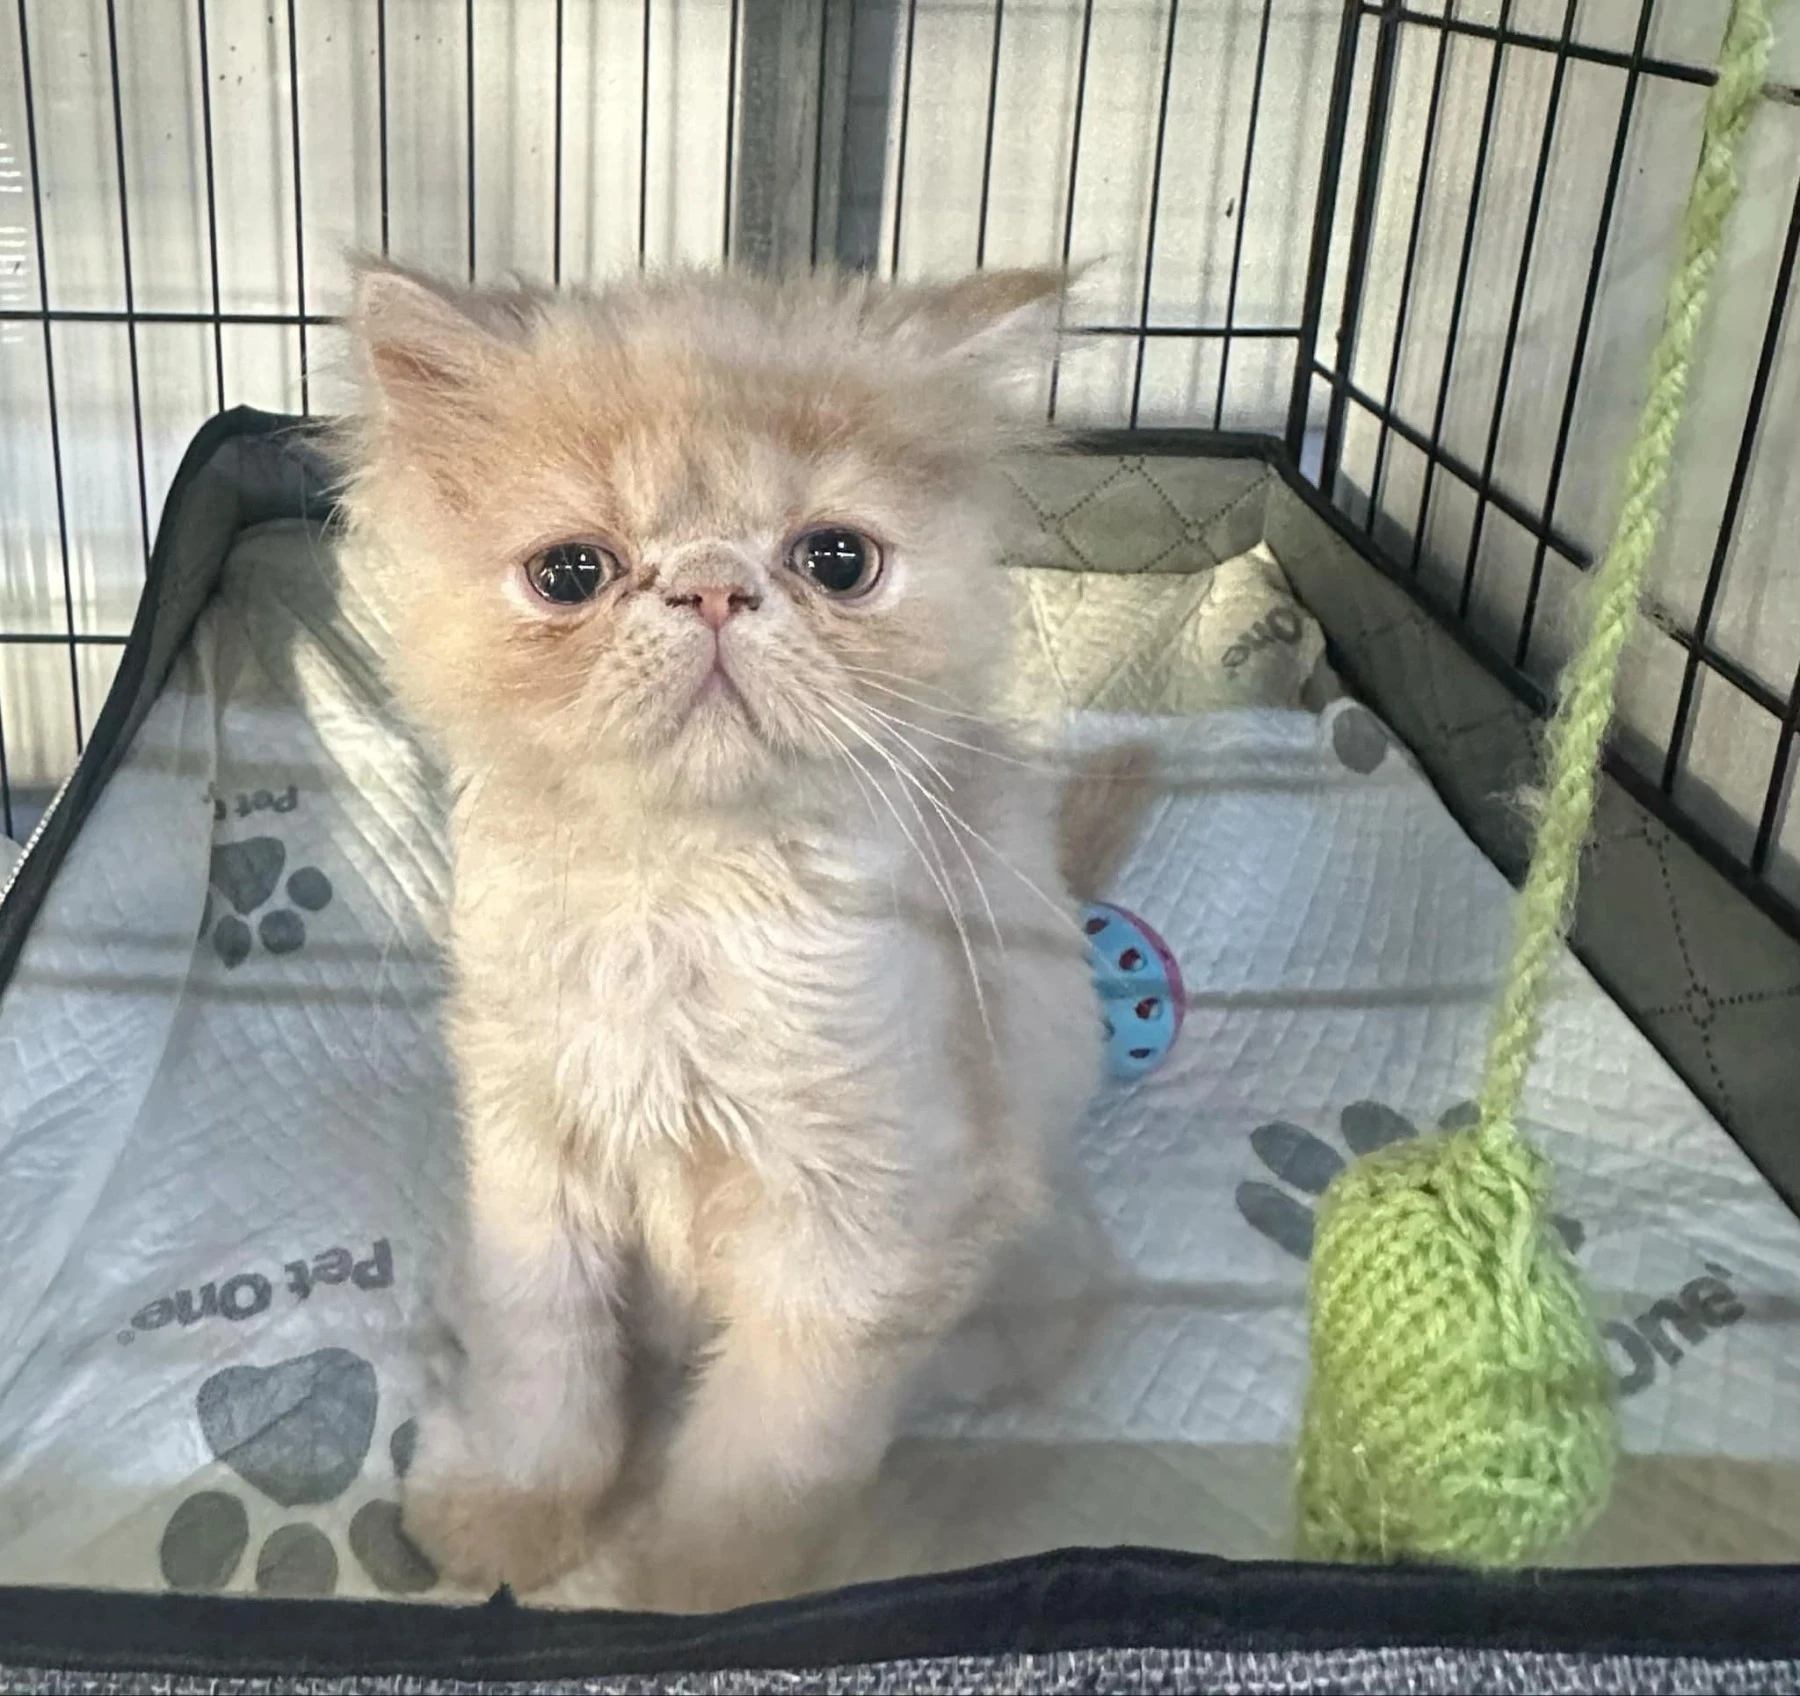
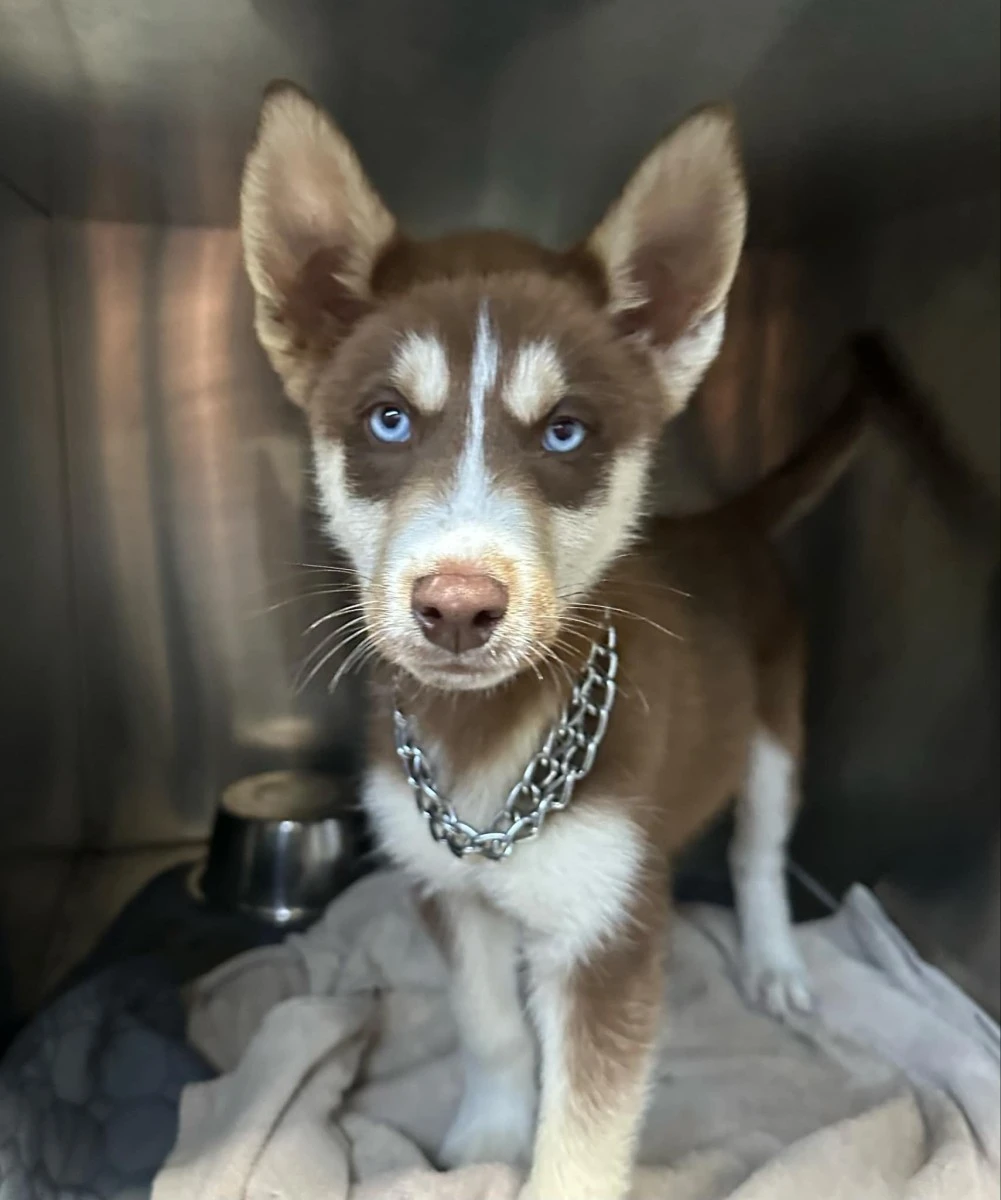
Your pet needs to be cared for when travelling distances, with the PETBUS your pet receives personnel one-on-one care, and all needs are attended to, watered regularly, fed and fresh bedding when required.
It's a stressful time for any animal when they have to be moved to new homes; with the PETBUS you know that they will be getting the best care possible to make the journey as comfortable and stress-free as possible.
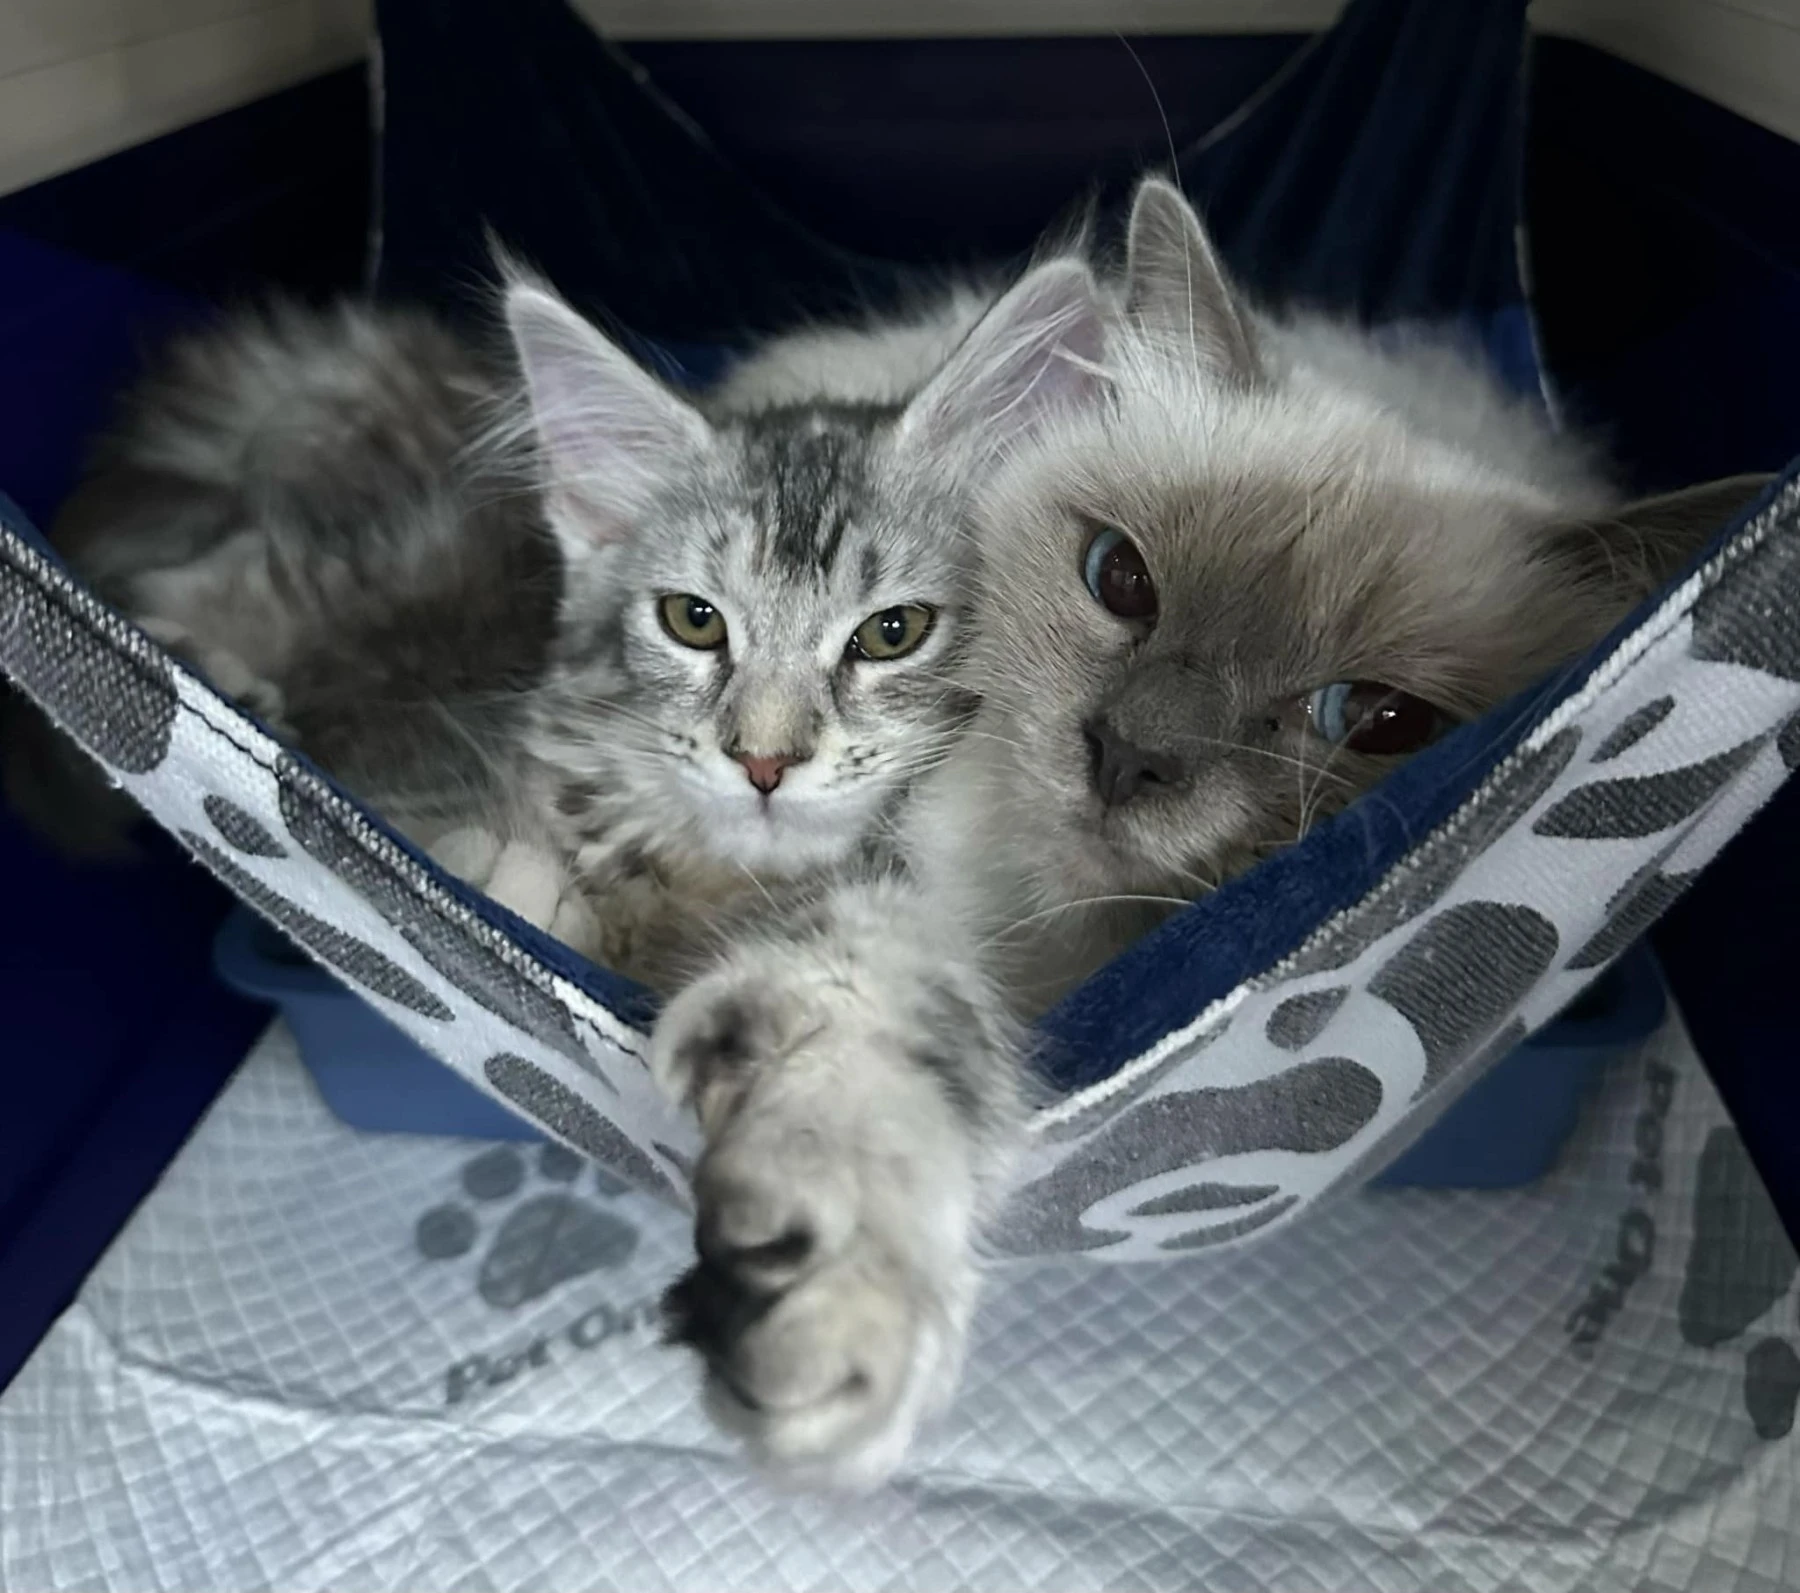
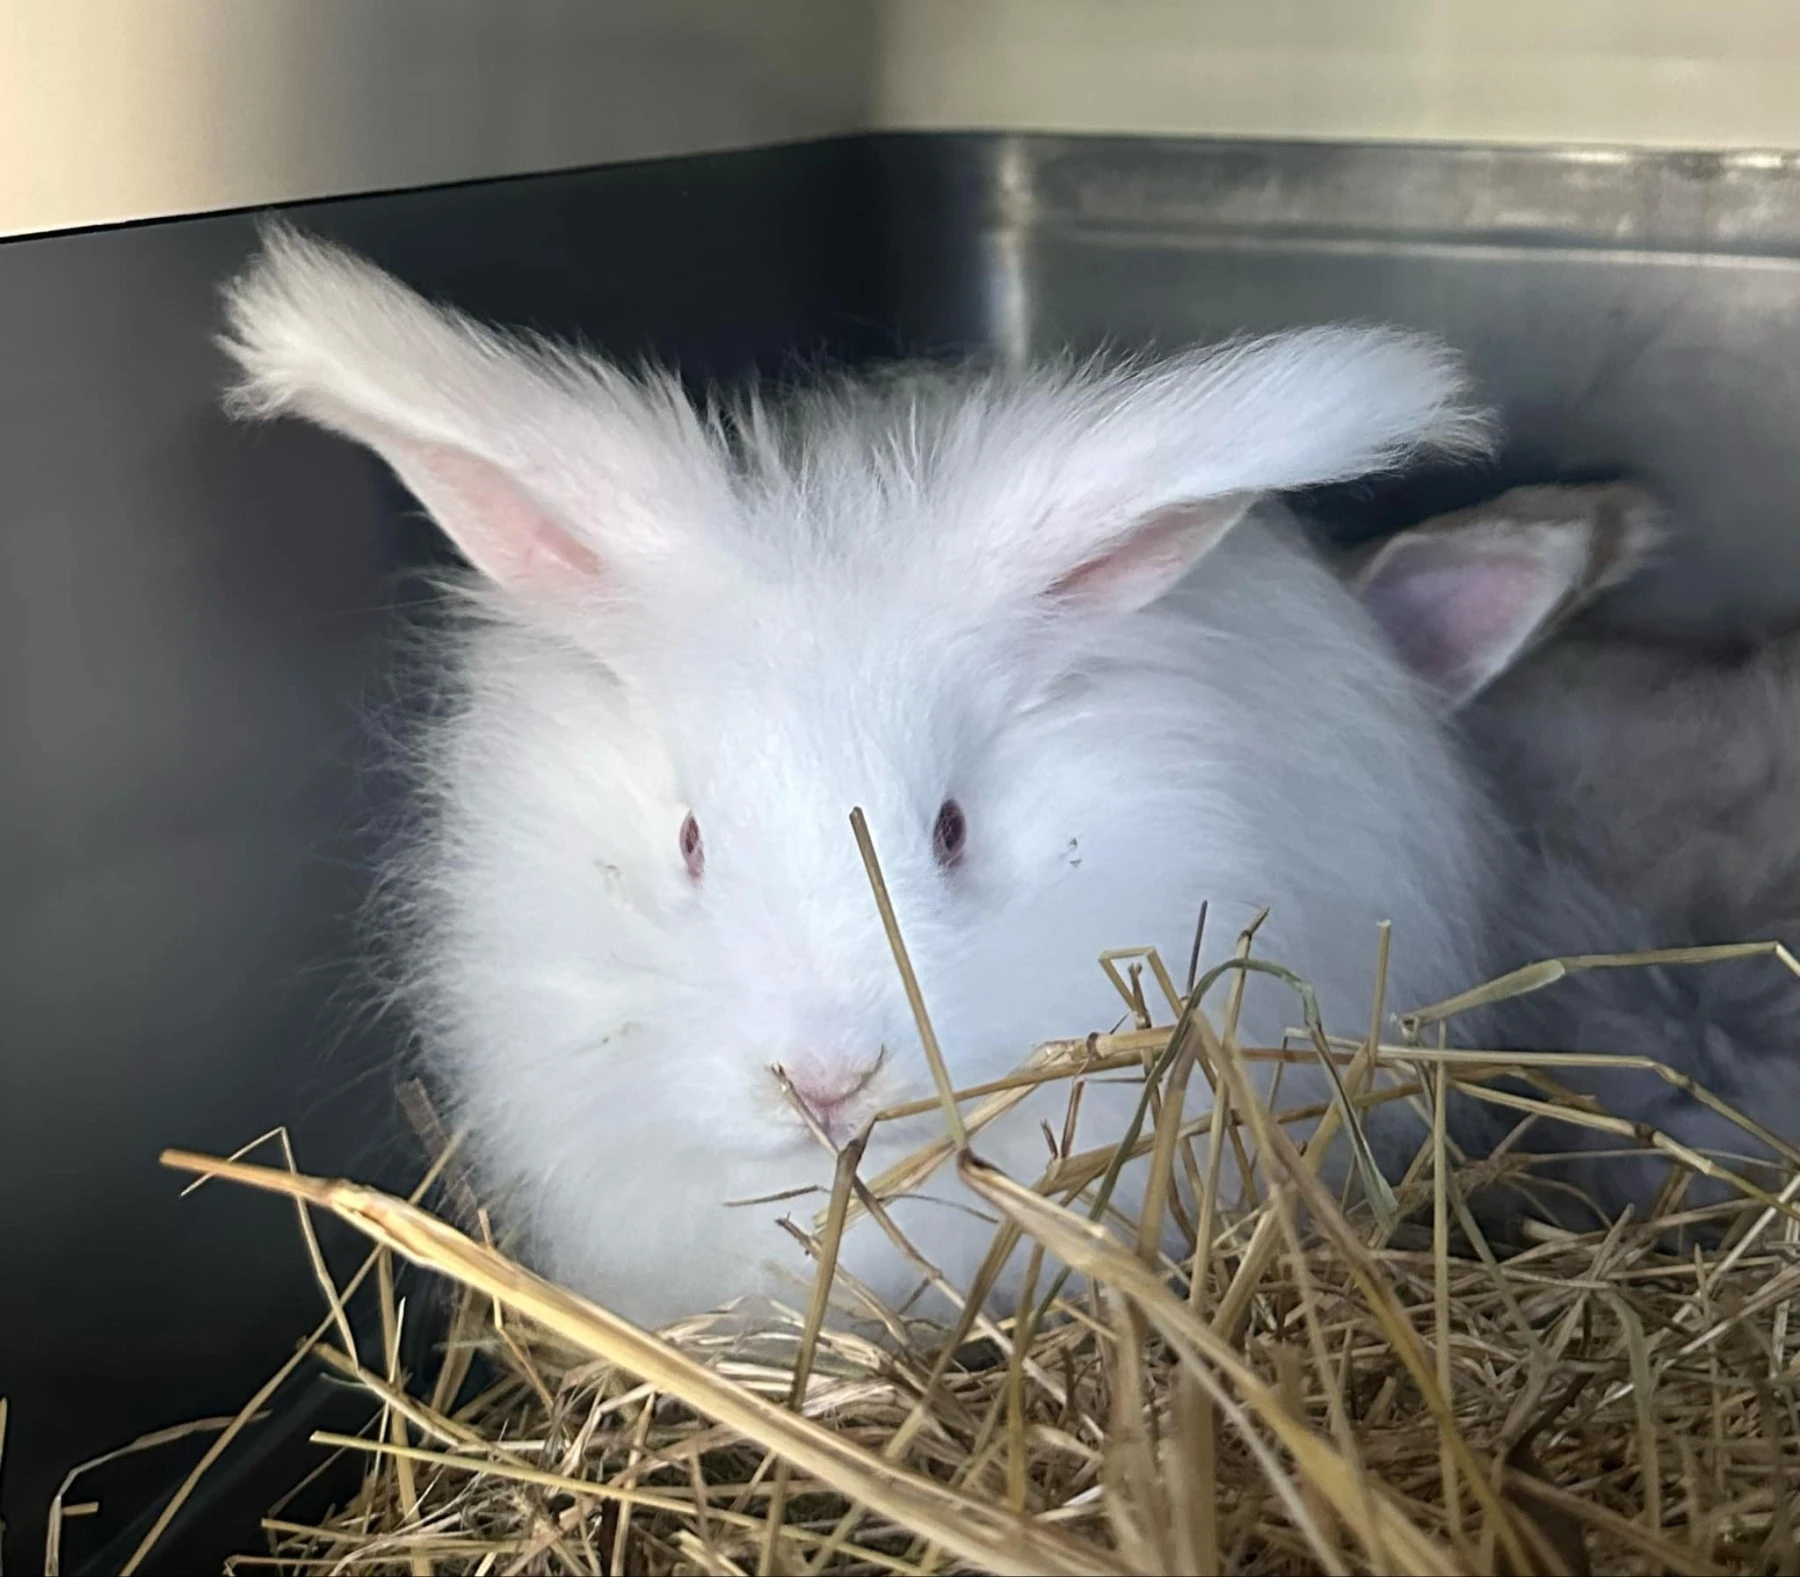
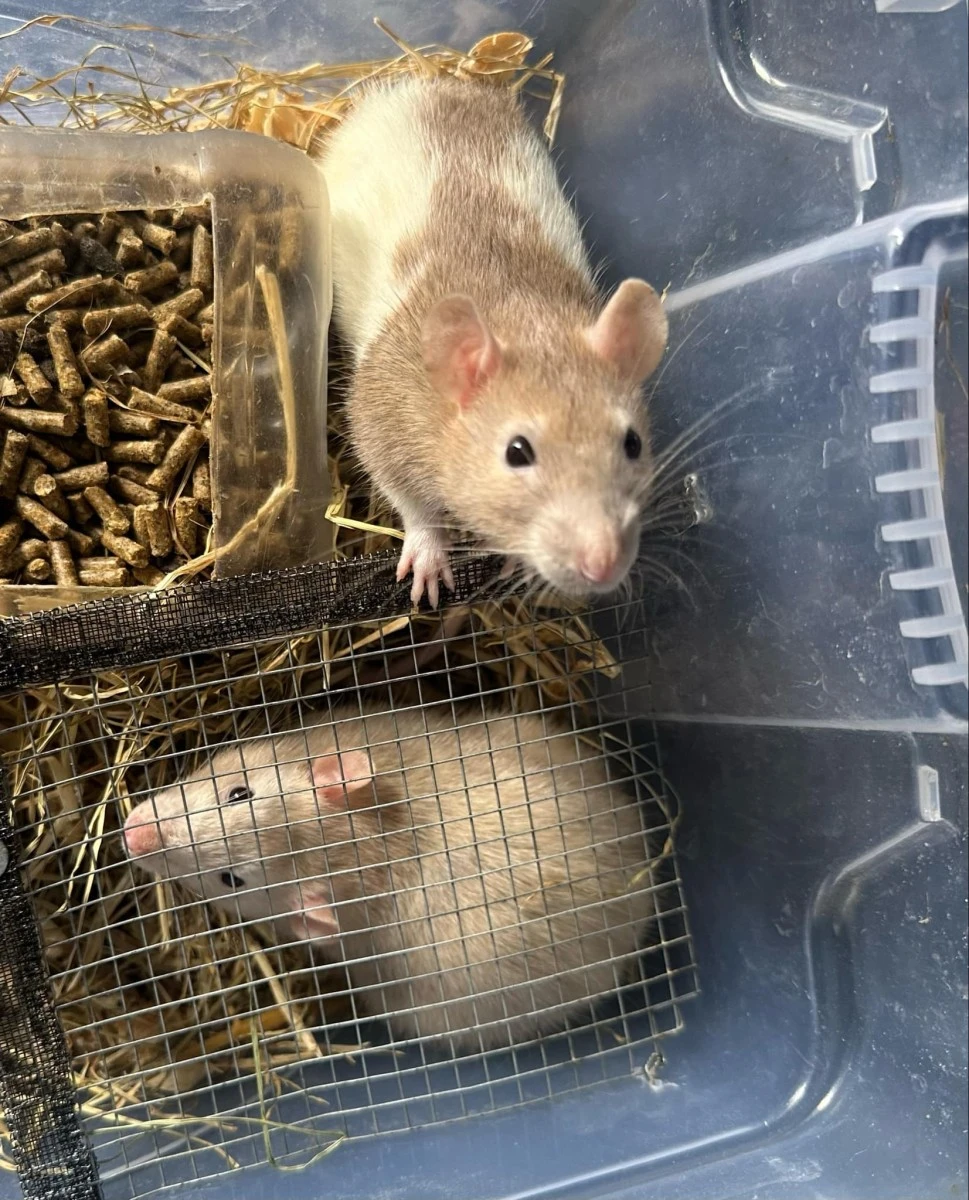
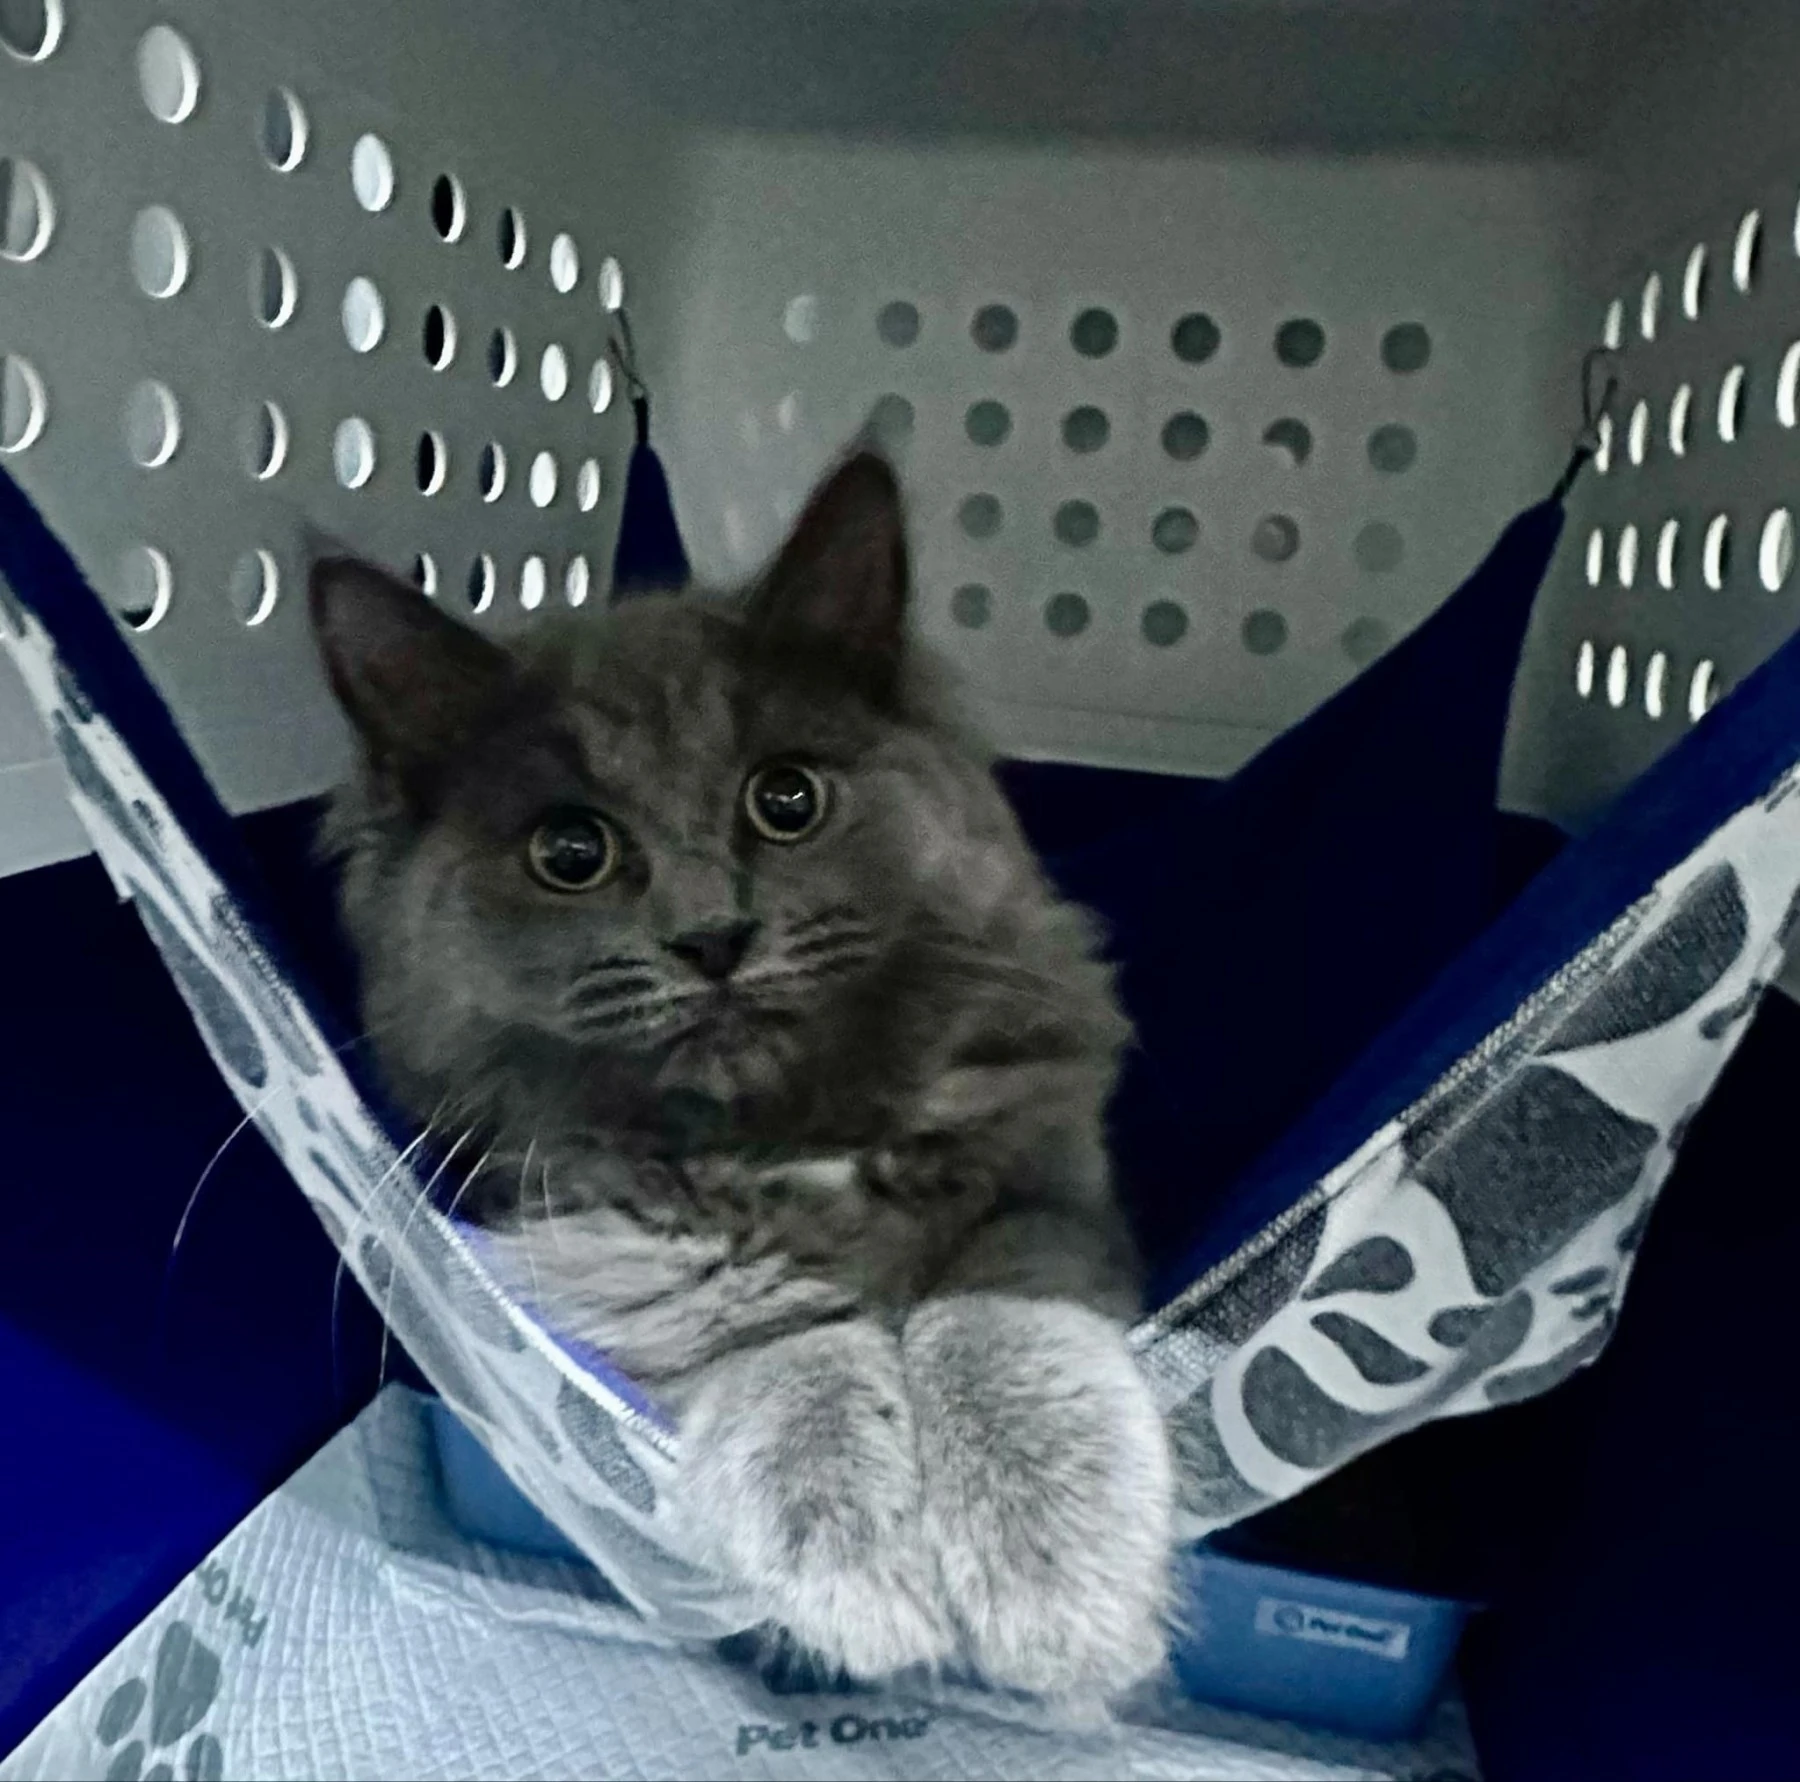
Transportation crates are included in the price for cats, kittens, puppies, dogs, and rabbits, so there is no need to have the hassles of posting back cages in the mail.
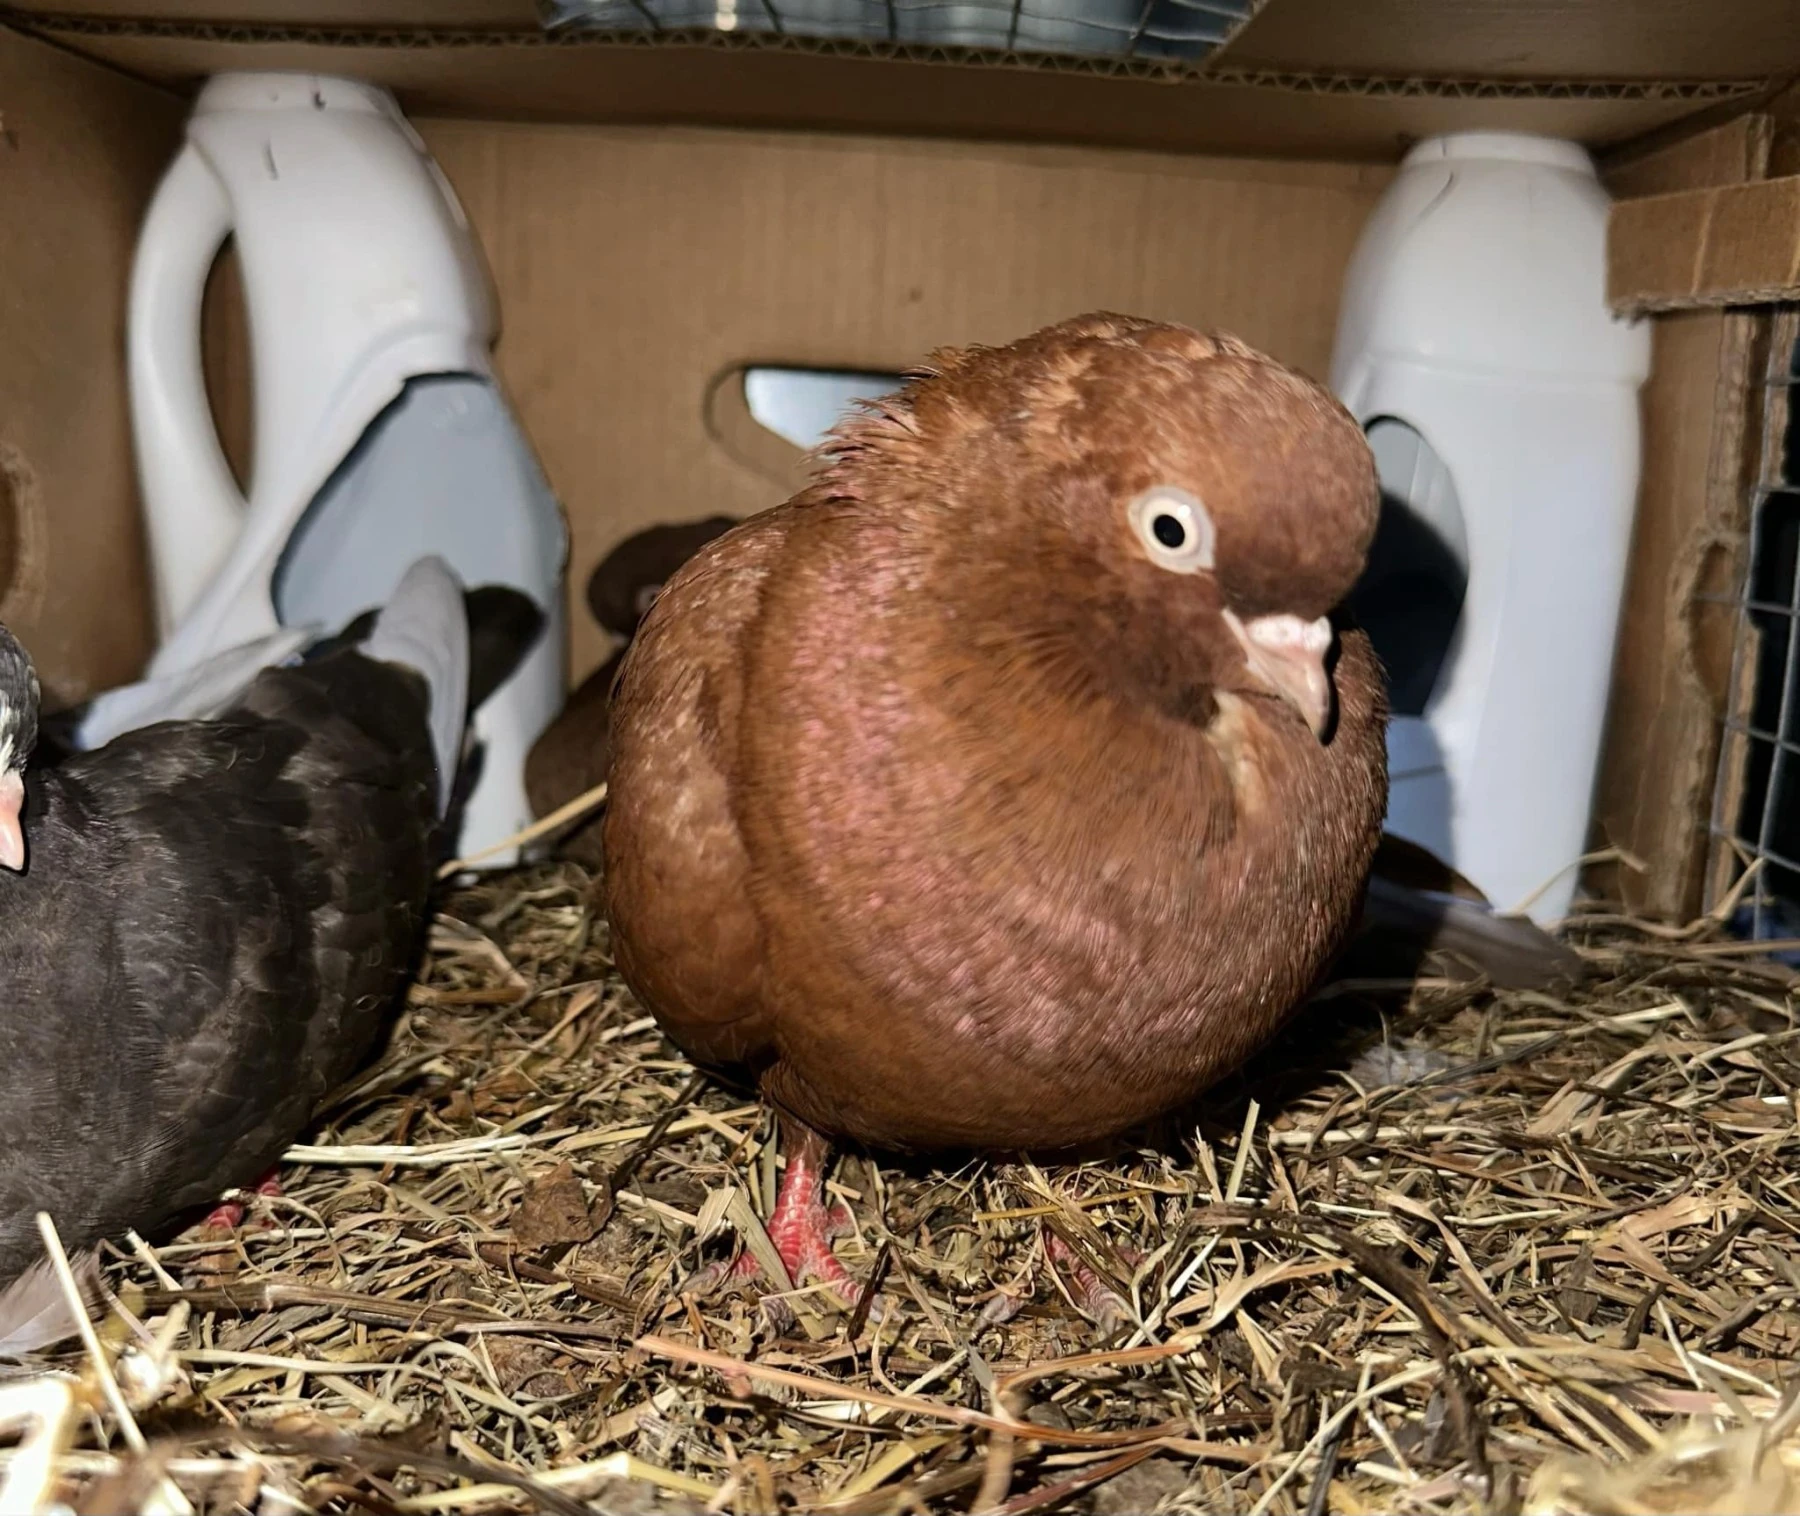
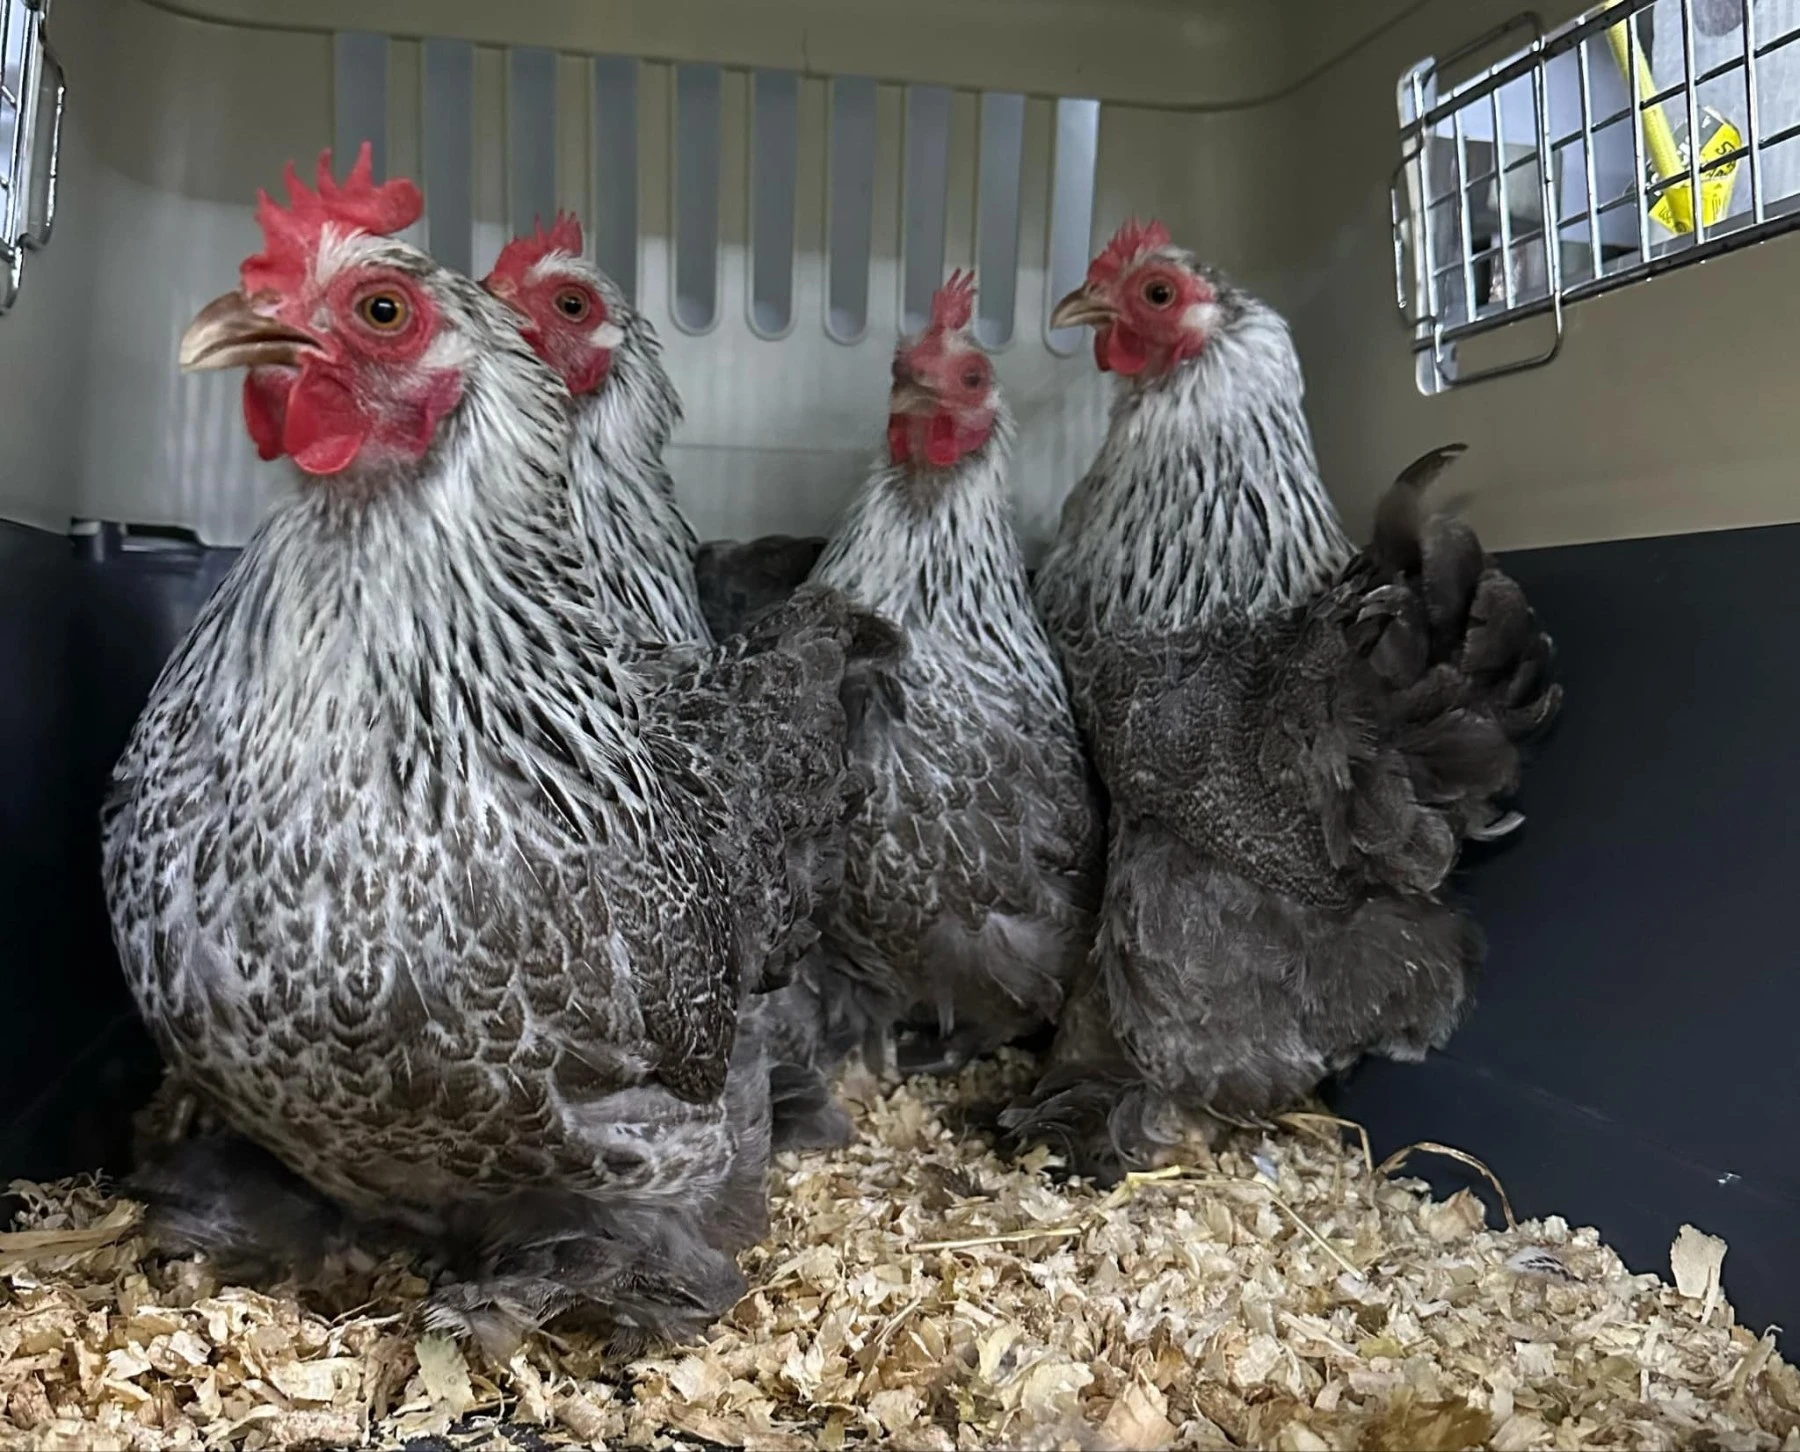
Poultry can also be transported in crates available but incur a hire fee as so birds.
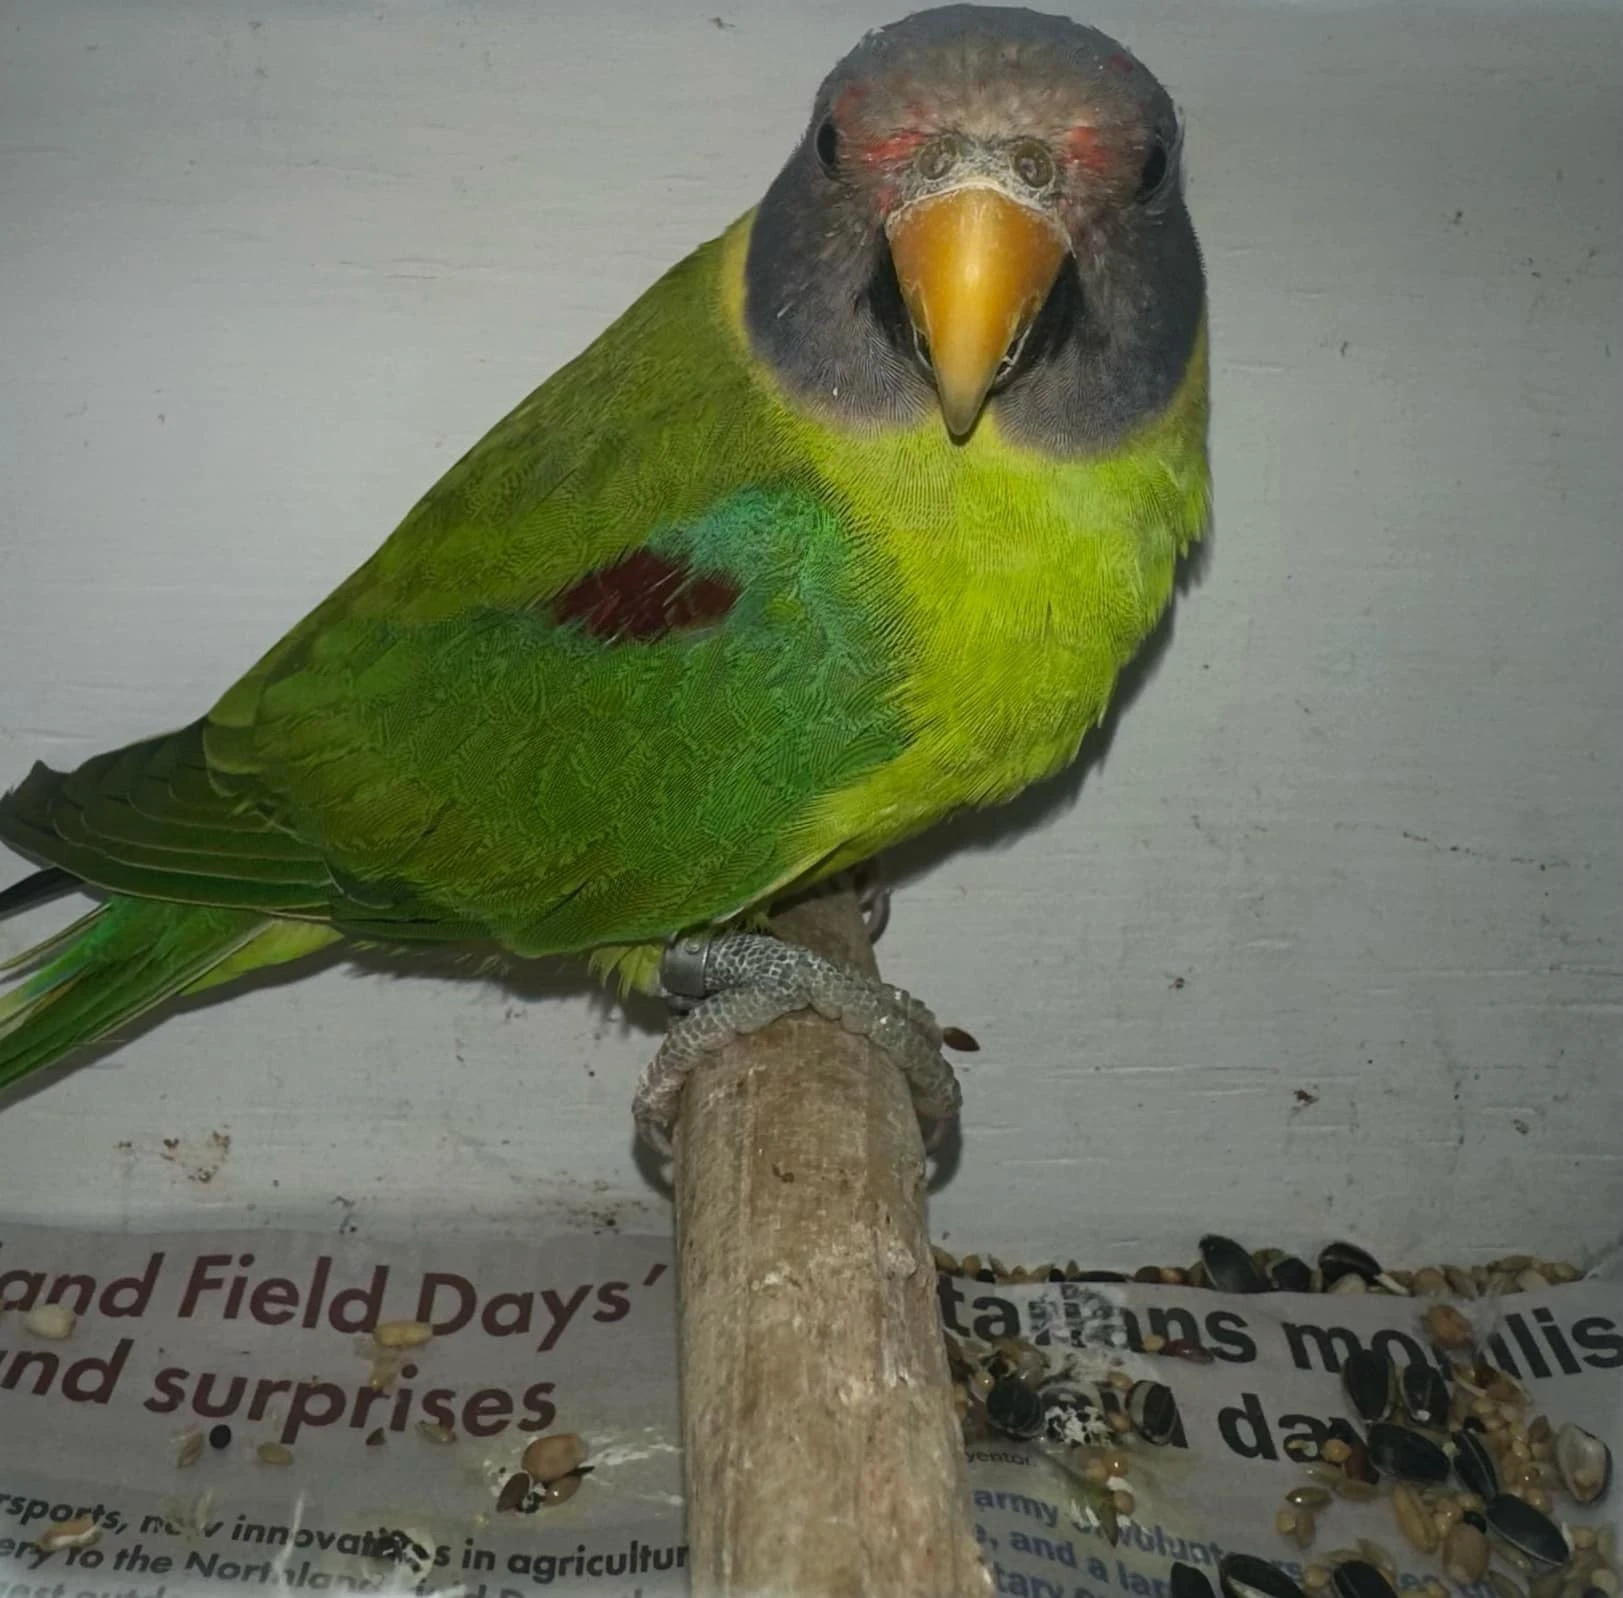
Other Birds need to come in a transport-sized cage ready for transport.
We consider ourselves the BEST in the business; our high standard of care speaks for itself in our feedback section below.
We pride ourselves on pets getting to their destinations as quickly as possible; this is our main priority. The shorter the time, the less stress. This is why we have meeting points only and don't offer a door-to-door option.
NO PETS ARE ON THE PETBUS LONGER THAN 2 NIGHTS IN THE NORTH ISLAND AND 3 NIGHTS TO DUNEDIN FROM AUCKLAND.